Showing posts with label workshop. Show all posts

Saturday, June 21, 2014

Workshop: Secret Belgian Binding with Rhonda Miller

In the end of May I took a bookbinding workshop with Rhonda Miller of My Handbound Books from Nova Scotia.  She taught a class called The Secret Belgian Binding at the Morgan Conservatory in Cleveland.  The class was very interesting, and it was fun learning a new book structure.

I learned that the "secret Belgian" binding is Belgian, but not actually a secret.  The creator of the structure prefers to call it the Criss-Cross Binding... But in America, the other name stuck.  The book uses three pieces of book board and is sewn in two parts.

We started the class by folding signatures, and sewing together the textblock.  Then we covered the boards with decorative paper.  While the boards were drying, we sewed a practice card for the second part of the binding.

I am so glad we practiced the second sewing before attaching the textblock!  It was pretty tricky to keep all the parts of the book in the right place during the sewing process.  The "criss-cross" part comes from sewing back and forth over the spine piece at each set of holes along the spine.  I really enjoyed the class and I'm definitely going to make more books like this in the future!

Tuesday, January 28, 2014

Workshops at Scrapbooks Galore and More


http://www.flickr.com/photos/25370403@N08/12278936924/in/photostream/
This past weekend I had the privilege of teaching two bookbinding workshops at Scrapbooks Galore and More in Midland, MI.  The first two hour class was about Japanese Stab Binding. I had seven eager students, and one indifferent feline assistant.  (That is the store mascot Scrapper, enjoying the sunbeam in the middle of our workspace.)

http://www.flickr.com/photos/25370403@N08/12278661903/in/photostream/
I started by showing the class how to sew a book using the most basic form of Japanese stab binding.  For the second and third books, we adjusted the number and location of the holes punched.  I let the students figure out some of the sewing on their own, and helped walk them through the difficult parts.  Everyone had a great time learning about bookbinding, despite the sore fingers!  (I need to remember pliers next time.  Pulling the needle through gets a little tough...)

The second two hour class of the day was a Case Bound Book class.  This book structure is a little trickier than the Japanese stab binding, so each student only made one book instead of three.  This time I had nine students, several of which had taken the earlier class as well.  The students learned how to fold signatures, sew together a text block, and glue the text block into a decorative case.  Overall it was a great day of teaching, and I am looking forward to teaching again in March at Small Studio in the Cleveland area.

http://www.flickr.com/photos/25370403@N08/12278940094/

Wednesday, September 25, 2013

Recycled Book Class with Jamie: Book 202

A few weeks ago I spent the afternoon doing a private book workshop with my friend Jamie.  She was interested in making a recycled journal as a wedding gift for her brother.  So she got the box, I brought the other materials, and walked her through the process of making a simple recycled journal.

Jamie chose a vegan falafel patty that her brother likes to eat and used the box for the cover.  We lined the back of the cardboard pieces with decorative paper, joined the two pieces with a piece of bookcloth, and sewed a single signature of pages to the bookcloth spine.

 Here is Jamie with her finished book!  I had a great time working with Jamie and sharing my knowledge of bookbinding with a friend.
 

Thursday, August 22, 2013

Box Making with Steve Pittelkow

Back in July I took a box making workshop instructed by Steve Pittelkow.  During the class we made two different hexagonal boxes covered primarily in Steve's hand marbled papers.  I absolutely loved the class!  Box making requires precision, measuring, and repetition... three things I'm really good at!
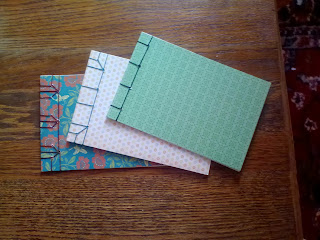
The first day we made a box with three stacking trays that opens up similar to a jewelry box.  The first step was cutting out three hexagons out of board, leaving rectangular tabs on each flat edge for the tray sides.  Then we scored and folded up the sides of each tray and secured the corner edges with framers tape (also called paper tape.)  Each tray was covered with decorative paper like a book cover (only a little more complicated.)  The outside walls of the tray were covered first with a long strip of paper.  Then the inside bottom with a hexagon, and the outside bottom with another hexagon.  Last to be covered were the inside walls of the tray.  That process was repeated for all three trays and later the box lid.
After the trays were done, we created three "V" shapes out of board that matched the angle of the hexagon corners.  After a little fiddling we made the boards fit around the trays with enough space for hinges.  The trickiest part of the whole process was covering the V shaped boards with the same piece of paper, and folding over the edges.  The final step was attaching one tray to each segment of the box cover.

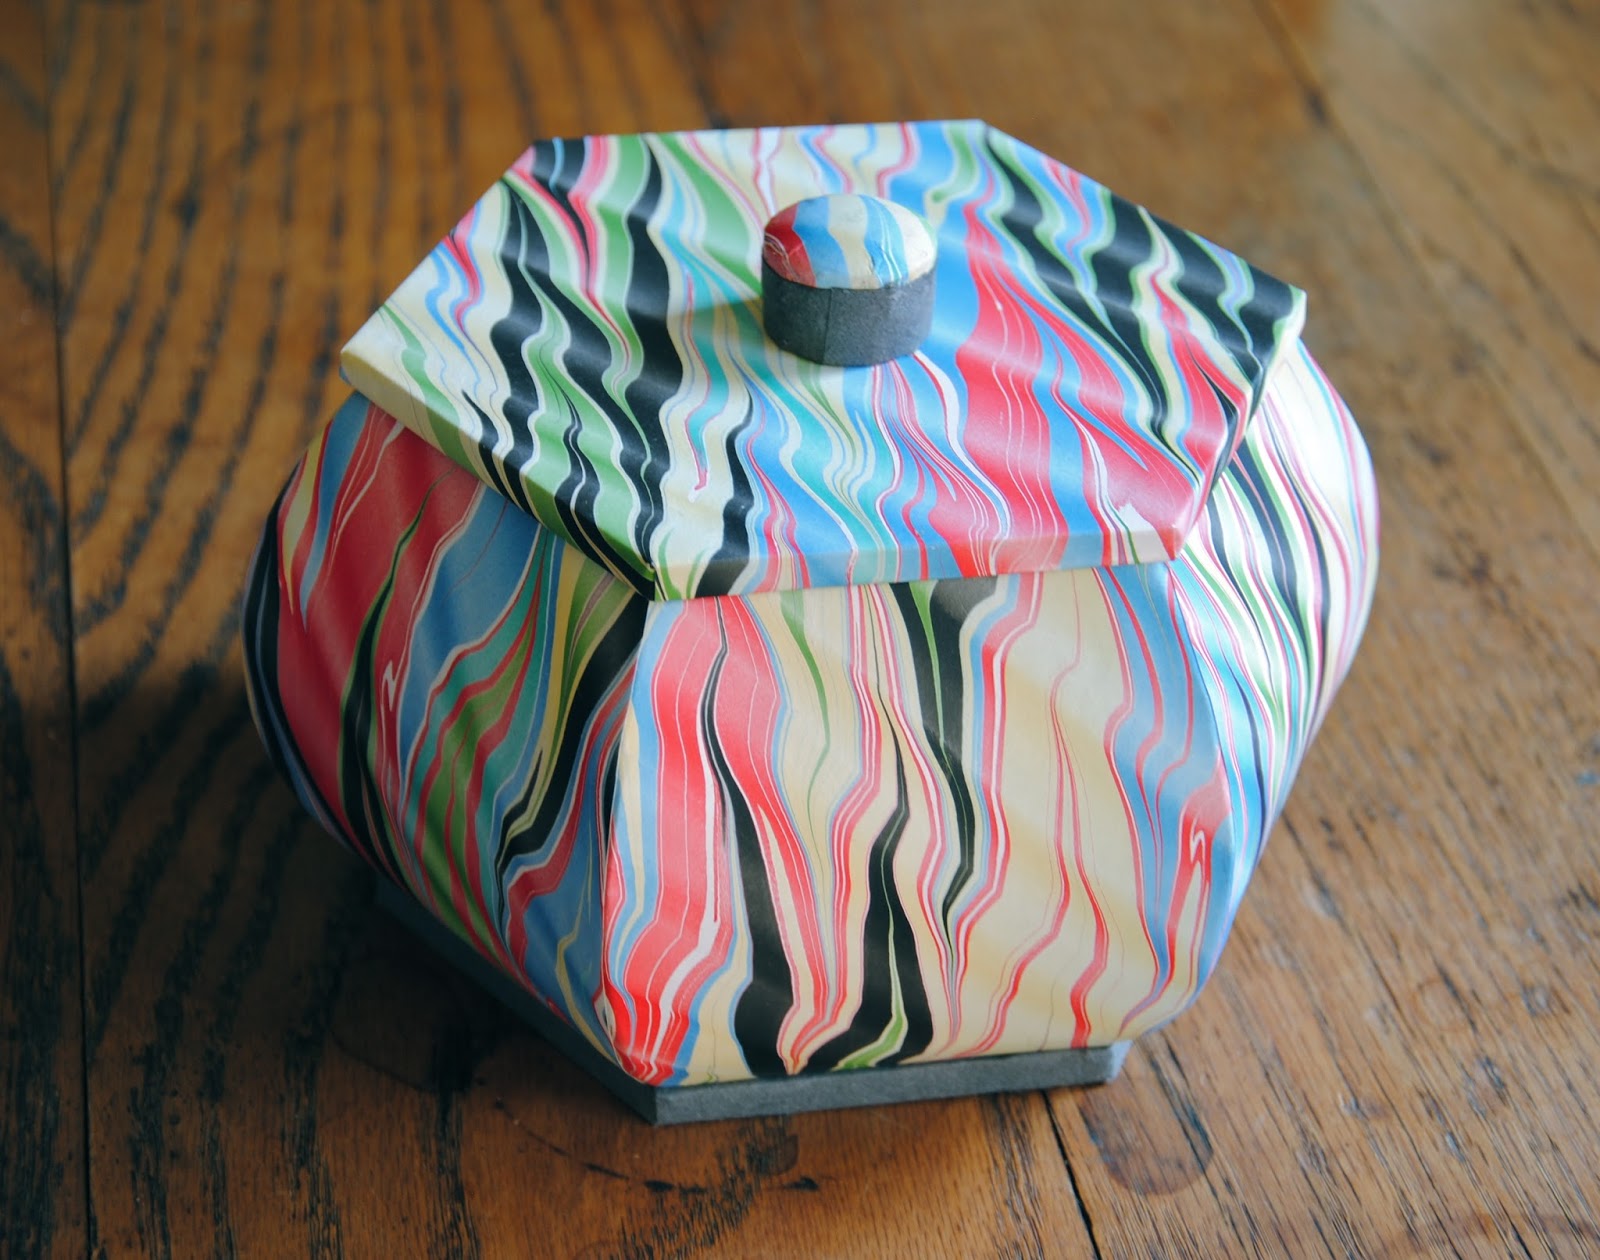
 On day two of the workshop we made hexagonal boxes with rounded walls, similar to a Chinese lantern or a pumpkin.  This box has a strong, hexagonal inner box and a thinner outer box with curved sides.  The thin pieces were cut individually from thin cardboard, and attached to a bottom hexagon like petals of a daisy.  Then we put the inner hexagonal box on the center of the daisy and bent each petal up so the top of the petal met with the top of the inner box.  The hardest part of this box was getting the curved edges to match up perfectly, and covering the seam with lots of tiny pieces of paper tape.

Once that part was done, it was just a matter of covering everything with decorative paper, and making a base and a lid.  I hope this post gave you a better idea of what goes into creating a box.  I am planning on taking a shorter box making workshop towards the end of September to learn more techniques for rectangular and square boxes.

Monday, June 10, 2013

Longstitch with Dan Essig- Book 121

Friday I had the opportunity to take a workshop with Dan Essig at Small Studio in Westlake.  Dan is an artist that makes sculptural books and is well known in the world of book arts.  He has taught all over the country and had his work featured in publications including 1000 Artists' Books (the photo on the lower left of the cover is his.)  You can learn more about Dan and his artwork at www. danielessig.com

The workshop was about longstitch binding.  I learned how to do the binding called Italian longstitch, and made my first ever leather book.  Longstitch bindings involve sewing the pages directly to the cover (in this case leather.)  After assembling the book, he showed us how to add tintypes to the book as a decorative element and to provide a place for a magnet closure.

I had a wonderful time learning from Dan and I love longstitch binding!  You can expect to see more longstitch journals from me in the future...

Wednesday, May 1, 2013

Envelope Book Workshop- Books 58-60

Over the weekend I taught a workshop about Envelope Books.  During the course of the day we made 2 types of envelope books.  One with a collapsible spine and 6x9 inch envelopes, and the second with a closed spine and 5x7 inch envelopes.  I demonstrated the books along the way, and ended up with 3 completed books by the end of the day (books 58-60 of my 365 challenge.)  Instead of describing the whole day, I'll leave you with photos from the workshop and of my sample books.