The first day we made a box with three stacking trays that opens up similar to a jewelry box. The first step was cutting out three hexagons out of board, leaving rectangular tabs on each flat edge for the tray sides. Then we scored and folded up the sides of each tray and secured the corner edges with framers tape (also called paper tape.) Each tray was covered with decorative paper like a book cover (only a little more complicated.) The outside walls of the tray were covered first with a long strip of paper. Then the inside bottom with a hexagon, and the outside bottom with another hexagon. Last to be covered were the inside walls of the tray. That process was repeated for all three trays and later the box lid.
After the trays were done, we created three "V" shapes out of board that matched the angle of the hexagon corners. After a little fiddling we made the boards fit around the trays with enough space for hinges. The trickiest part of the whole process was covering the V shaped boards with the same piece of paper, and folding over the edges. The final step was attaching one tray to each segment of the box cover.
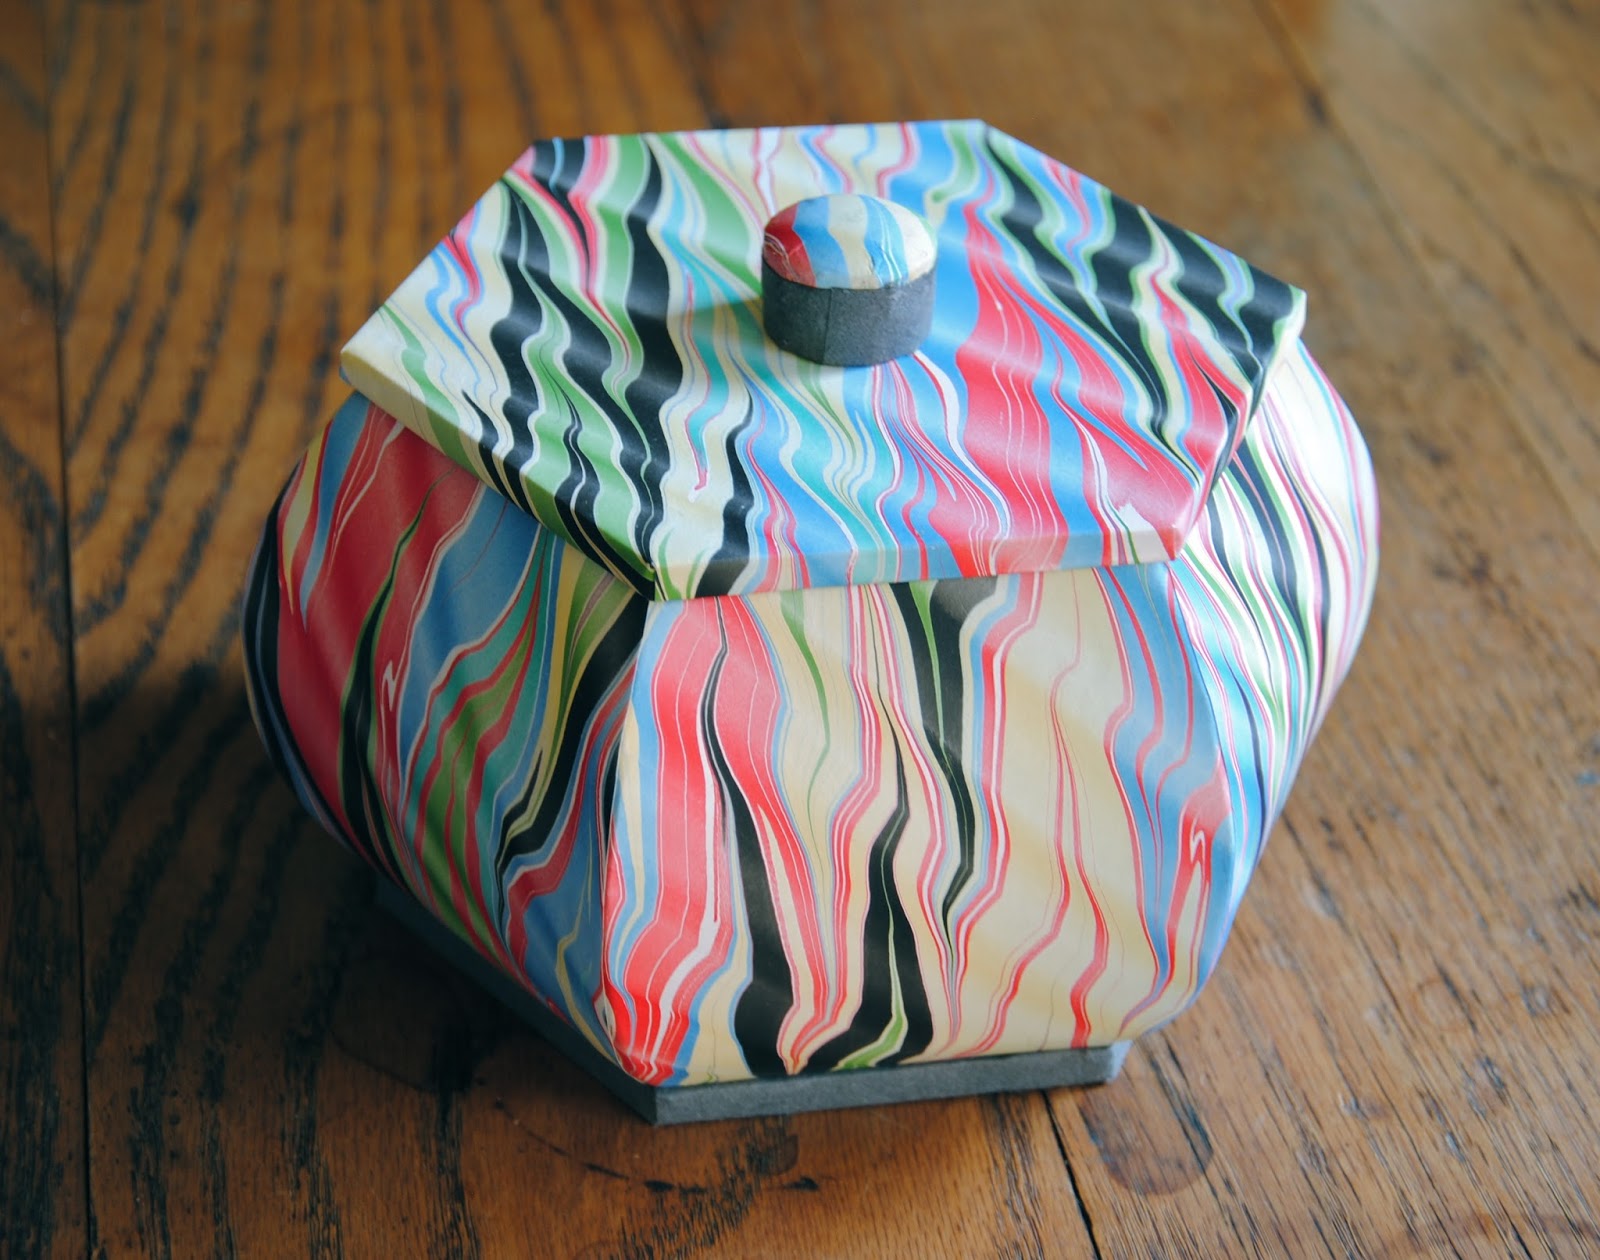
On day two of the workshop we made hexagonal boxes with rounded walls, similar to a Chinese lantern or a pumpkin. This box has a strong, hexagonal inner box and a thinner outer box with curved sides. The thin pieces were cut individually from thin cardboard, and attached to a bottom hexagon like petals of a daisy. Then we put the inner hexagonal box on the center of the daisy and bent each petal up so the top of the petal met with the top of the inner box. The hardest part of this box was getting the curved edges to match up perfectly, and covering the seam with lots of tiny pieces of paper tape.
Once that part was done, it was just a matter of covering everything with decorative paper, and making a base and a lid. I hope this post gave you a better idea of what goes into creating a box. I am planning on taking a shorter box making workshop towards the end of September to learn more techniques for rectangular and square boxes.


No comments:
Post a Comment