Saturday, March 22, 2014

Knit Colorwork Socks

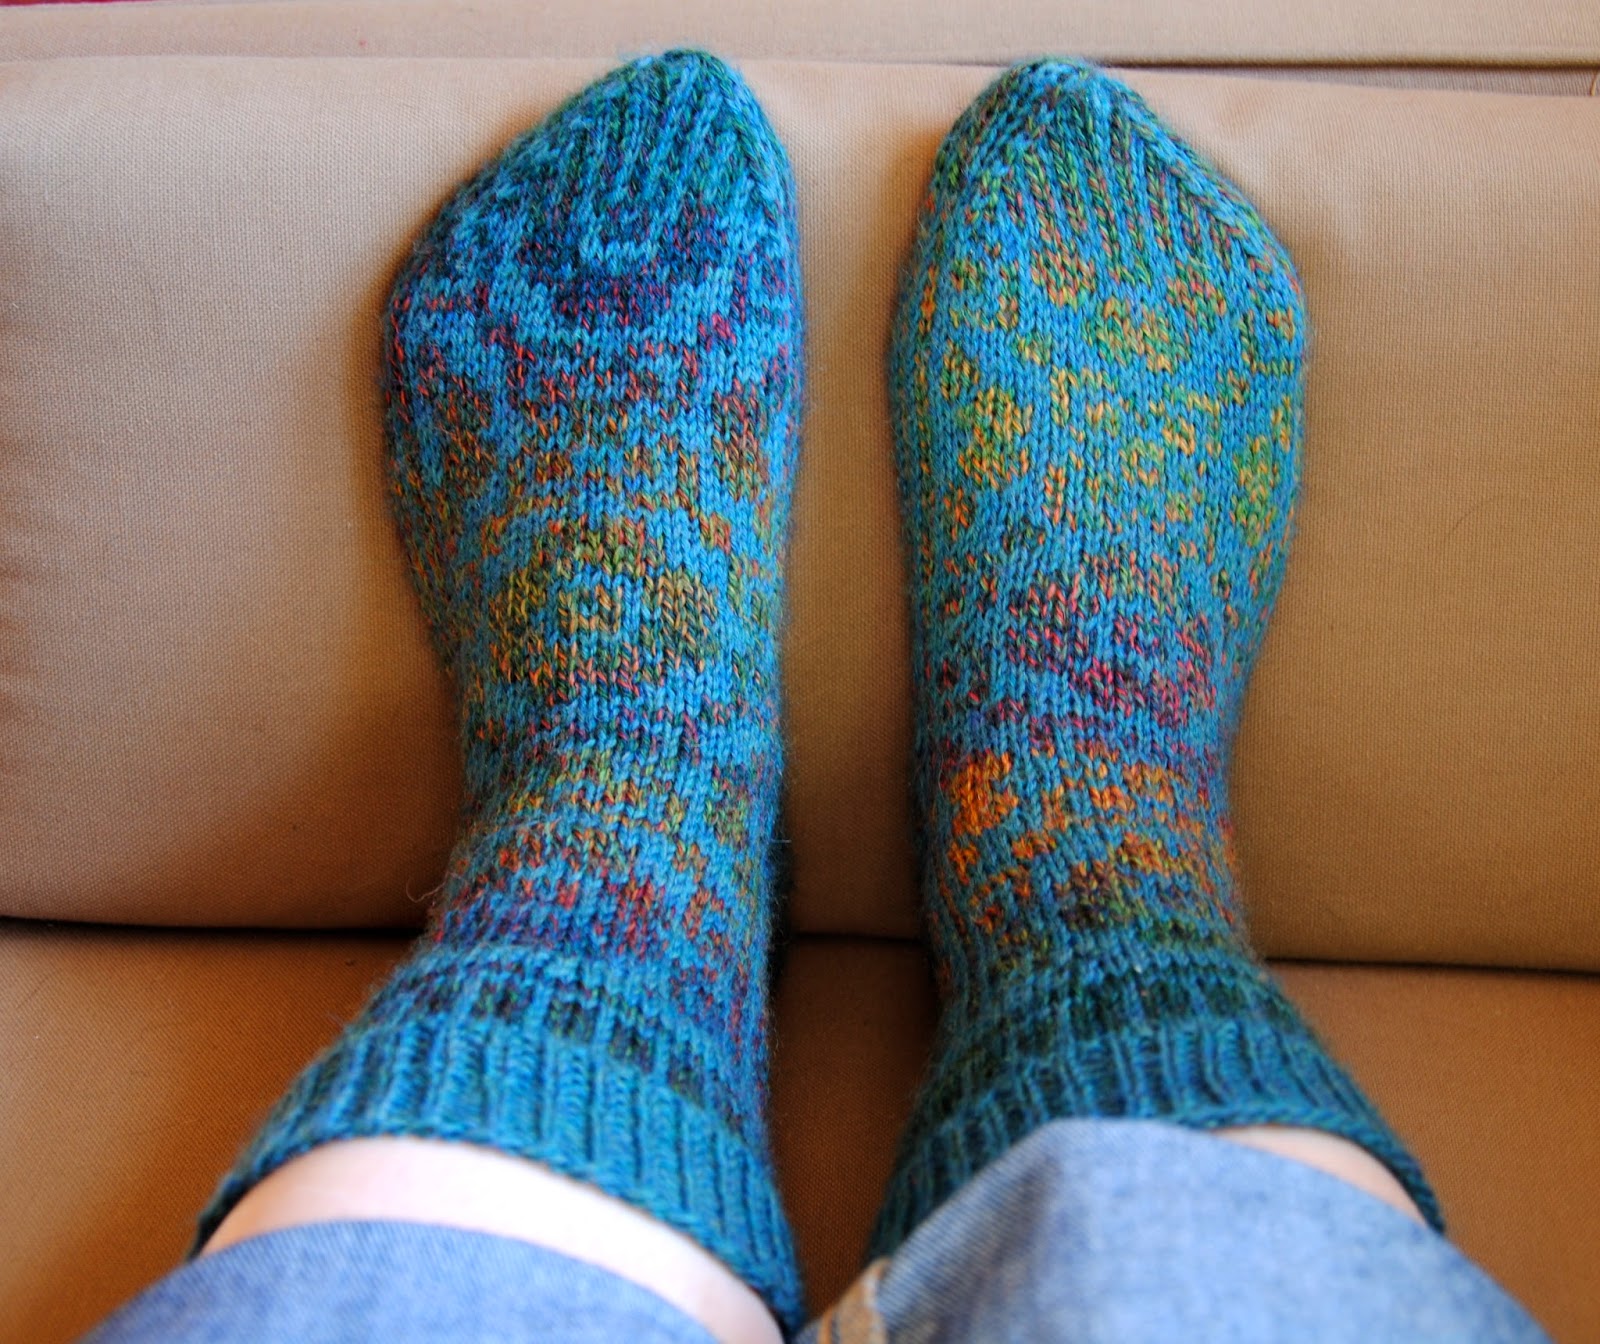
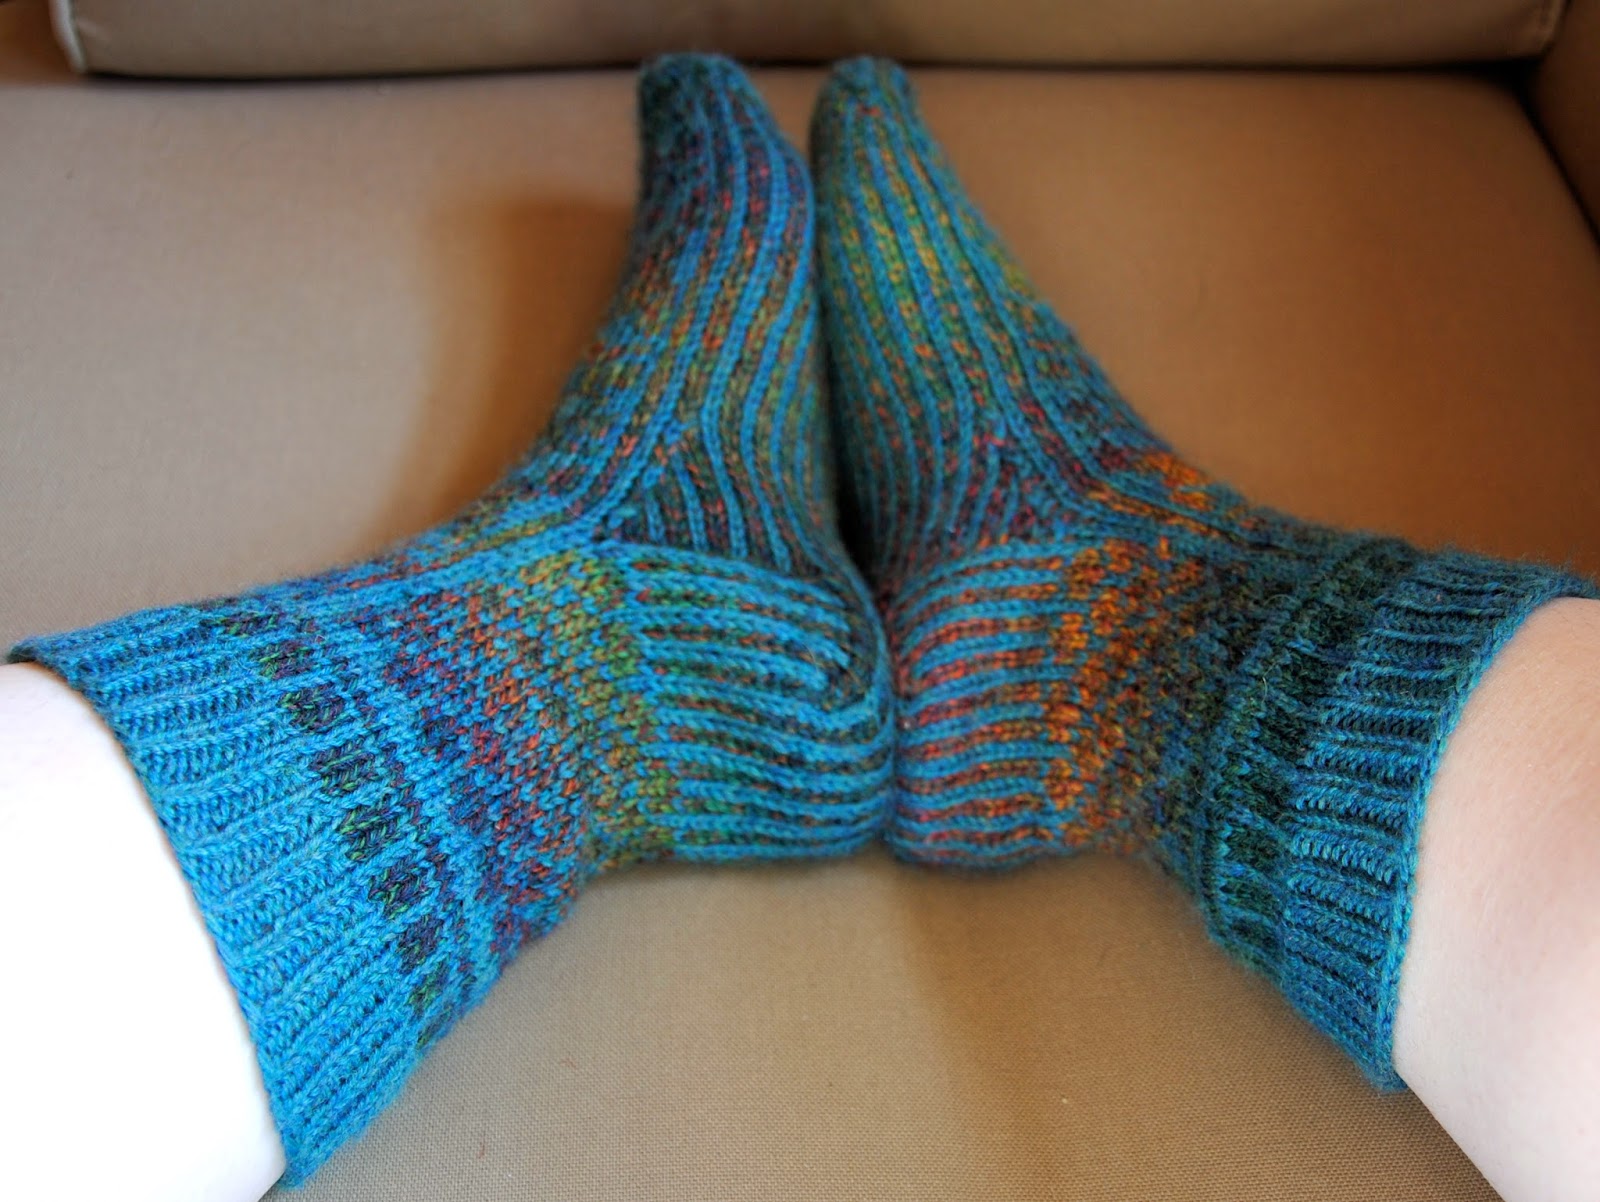
Earlier this month I finished knitting the colorwork project I started last year.  I know it seems like a really long time to spend on a pair of socks... But I finished the first sock and started the second one right before summer hit.  The whole project got set aside in my "works in progress" basket by the couch, and it just took me a while to get back to it.

https://www.flickr.com/photos/25370403@N08/13331717694/in/photostream/
The pattern is called Christmas Sock in Fabel by Drops Design.  I started the project on a whim to have something to work on during a Valentine's craft show, and also because I had new yarn I really, really wanted to use.  I combined a teal "main color" with a blue/orange/red "contrasting color" instead of the traditional red and white or other solid color combination.  I wanted to experiment using a self-striping yarn and a solid for colorwork, and I'm definitely pleased with the results.

https://www.flickr.com/photos/25370403@N08/13331712974/
The finished socks are warm and squishy, but still thin enough to fit inside a pair of boots or shoes.  But somehow, I managed to make the second sock slightly larger than the first...?  Oh well, that's what I get for waiting a year between socks.  On to my next project!

Tuesday, March 18, 2014

Making Skating Costumes

When I'm not knitting, binding books, or blogging I am usually out on the ice practicing ice dancing.  Last year I competed for the first time at the US Figure Skating Adult National Championships with my ice dancing partner.  This year we competed at the sectionals competition in Cleveland in early March, and are getting ready for Adult Nationals again in April.  I needed a new competition dress (or two) this year, but they are expensive and difficult to find locally.  So, I did like any good crafter and made the costumes myself!

Old wrap skirt I used as a pattern
For the competition I need one outfit for the choreographed free dance with my partner, and a second outfit for the pattern dances with my partner and my solo pattern dances.  I decided to use part of an old costume for the free dance and make a wrap skirt to go over it.  For the pattern dances I made another wrap skirt and bought a plain leotard to go with it.  I actually got enough fabric for two different wrap skirts to go with the plain leotard.

Cutting out the fabric
I bought fabric and flat back rhinestones from Carol's Fabric Shop in Brunswick, OH.  It is a tiny fabric store that carries tons of stretchy dance and skating fabrics, and is the only store in the Cleveland area with a decent selection of skating fabric.  I based my new skirts off an old wrap skirt I had from my old synchronized skating team practice uniform.  I needed the skirts to be "dance length" which means to the knee- so I had to add some length compared to the old skirt.

Once I had everything cut out, I went to my sewing machine and did a lettuce edge for the hem.  That is when the material has a wavy, curly edge instead of a normal hem.  It is a simple and attractive hem for stretchy fabric.  Basically all you do is stretch the fabric while sewing a dense zig-zag stitch.  Then I took a long strip of fabric and sewed it to the top for the waistband.  The waistband needed to have extra length so it could wrap around my waist and tie together on one side.

Finally, I took the leotard and glued on a line of rhinestones.  This was my first time stoning a dress, and I think it went rather well.  Only one minor glue spot on the fabric.  However, next time I would not put the stones over the elastic edge.  I accidentally killed most of the stretch on the neckline because of how many stones I added.  Before the next competition I plan to add another row of smaller stones below the bigger ones.  I am also planning on sewing the third skirt- a black fabric with a wavy, glittery pattern of blue and white dots.

The whole ordeal still ended up costing around $125, but I now have three different outfits I can use for skating competitions.  By comparison, one off-the-rack skating dress without stones could have easily run me $200 or more.  Hooray for being able to do-it-yourself!

Monday, March 17, 2014

Happy St. Patrick's Day!


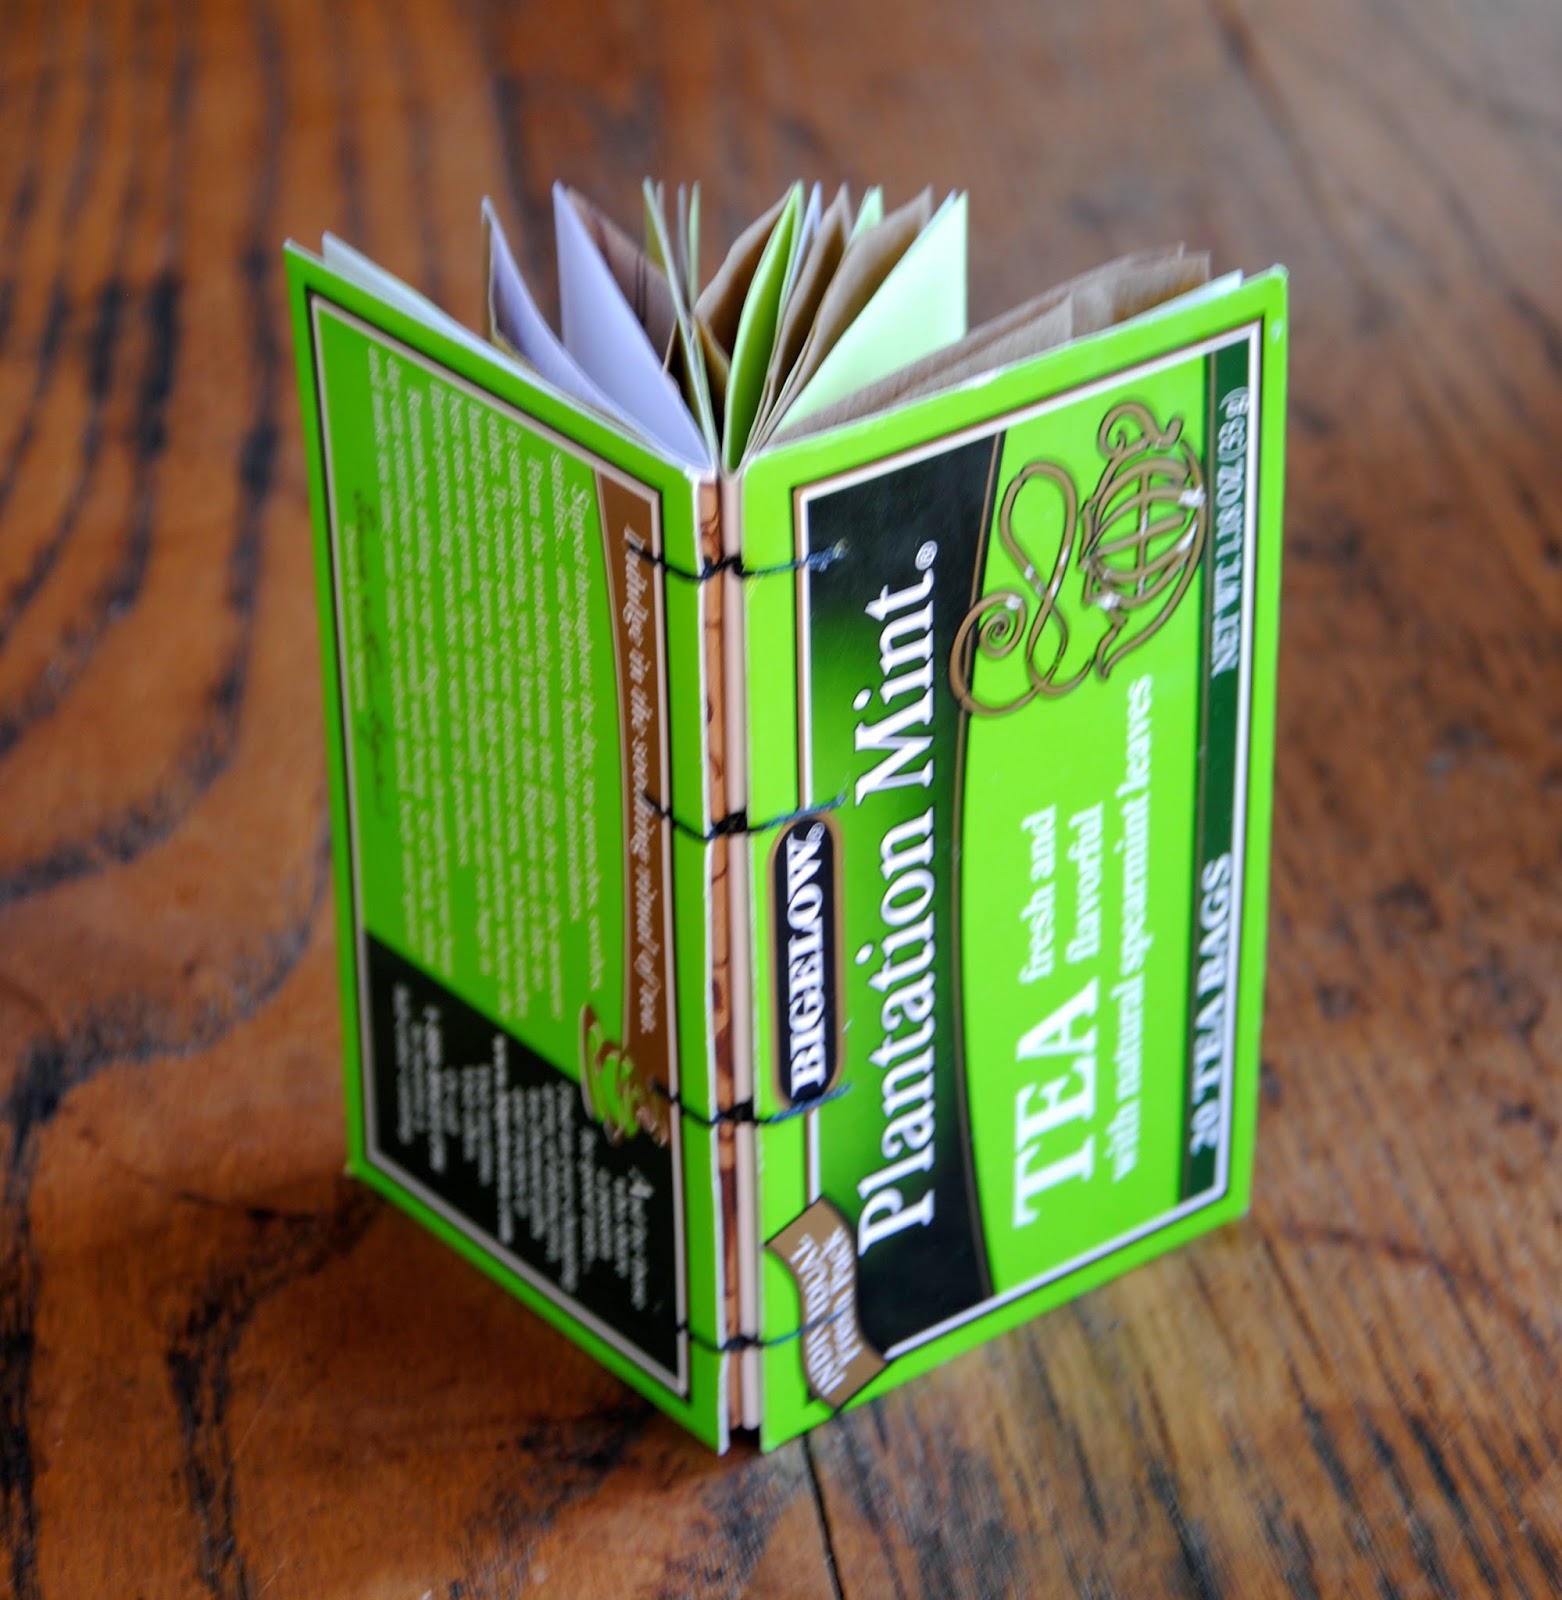
Happy St. Patrick's Day!  Today, I'm featuring handmade books in a variety of greens.

https://www.etsy.com/listing/182912759/plantation-mint-tea-recycled-book?ref=shop_home_active_1
These two recycled book are brand new.  One is made from a green Plantation Mint box of tea.  The other box is from a variety of Green Tea.  Both books are available on Etsy!

https://www.etsy.com/listing/182912955/honey-lemon-green-tea-recycled-book?ref=listing-shop-header-1

Wednesday, March 12, 2014

Multiple Stick Book- Art Book 1/14

Remember back in January when I introduced my 14 Art Book in 2014 project?  Well, I finally got around to making my first art book of the year!  January and February were really tough months for me this year.  I had a lot of trouble getting motivated to do things, and spent most of the time curled up on the couch knitting.  (Which is why I have so many knitting posts lately...)  I'm also a competitive figure skater, so this is my peak training season before competition.  Between all of that I did not have time to physically make any art books... But I was planning!

This month I am really kicking things into gear with art books.  I have been invited to be part of a gallery exhibition of book and paper artists that opens in late April.  The artwork deadline is fast approaching and I only have one piece ready for the show!  Yikes!

To get ready for the show, I made a list of pieces I already have and pieces I would like to create for the show.  I want to continue the two themes I've already started with my art books: curly willow branches with ecodyed papers, and Astronomy.  Last week I spent some time after work dyeing papers for future books.  On Monday I had the day off and spent most of the day in my studio.

http://www.flickr.com/photos/25370403@N08/13104976704/in/photostream/
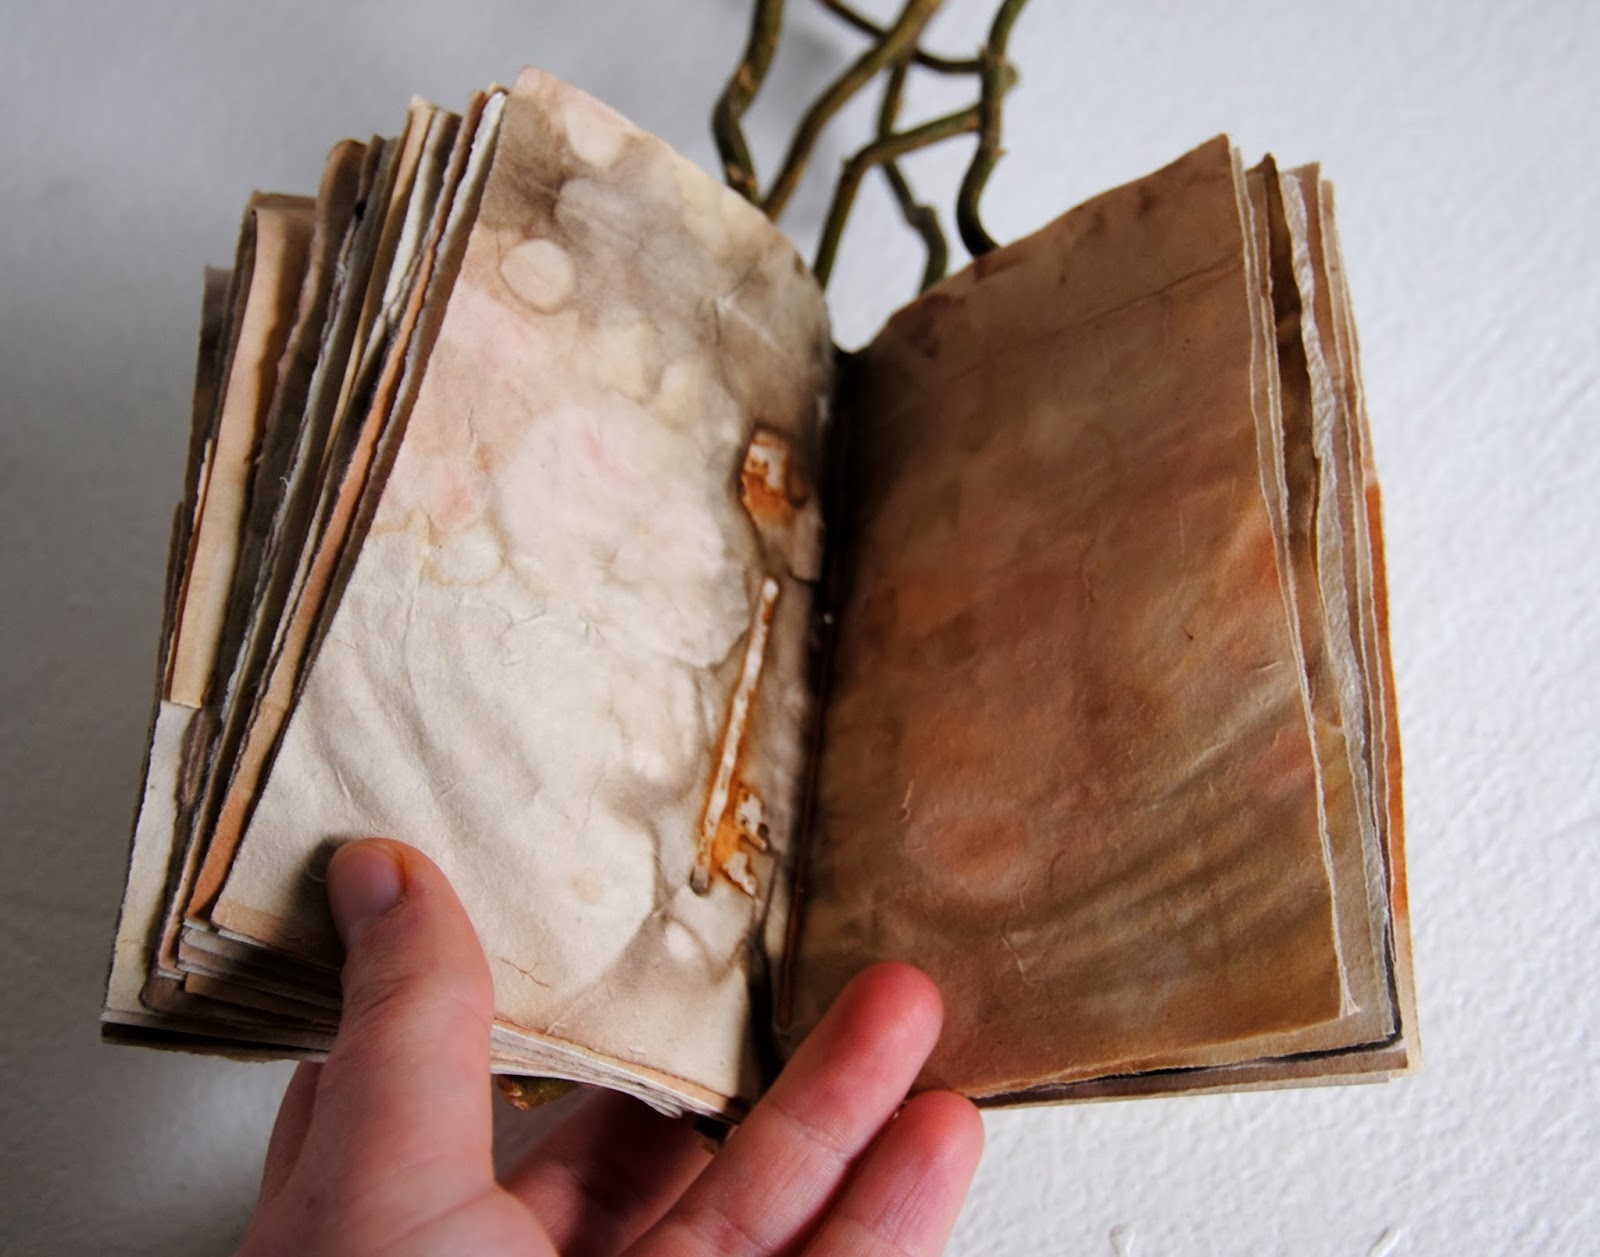
I started by spraying down my new ecodyed papers with water and pressing them under weights to flatten.  I had two sheets of dyed paper from last fall that were already flat, so I used those for the first book.  Then I sorted through my stick collection and found some lovely, skinny, wavy ones.  The idea was to create a multiple signature stick book with one stick for each signature.

http://www.flickr.com/photos/25370403@N08/13104705335/in/photostream/
Once I had my 5 ideal sticks, I tore down the two sheets of dyed paper to 4 1/2 x 6 inch pieces.  I supplemented that with 5 sheets of handmade abaca paper that I made a few years ago.  Then I leafed through my old dictionary and cut out several botanical images for transfers.  Normally I use a blender pen to transfer images that have been through a copy machine, but this time I used the original image and rubbed very hard for a light transfer.  For the covers I used embroidery floss in complementing colors to sew together two smaller pieces of dyed paper.  (Two pieces for each cover.)

http://www.flickr.com/photos/25370403@N08/13104971464/in/photostream/
The hardest part about this book was sewing the signatures to the sticks.  It was tricky figuring out where to attach each stick and how to get the signatures connected securely without much wiggle.  I ended up just winging it, and I think it added to the organic look of the whole book.  I'm very excited with how the book came out, and I think I like it even better than my original Curly Willow Book!
http://www.flickr.com/photos/25370403@N08/13104969144/

Wednesday, March 5, 2014

Lined Journals and Notebooks


https://www.etsy.com/shop/minimeg?section_id=10015474&ref=shopsection_leftnav_1
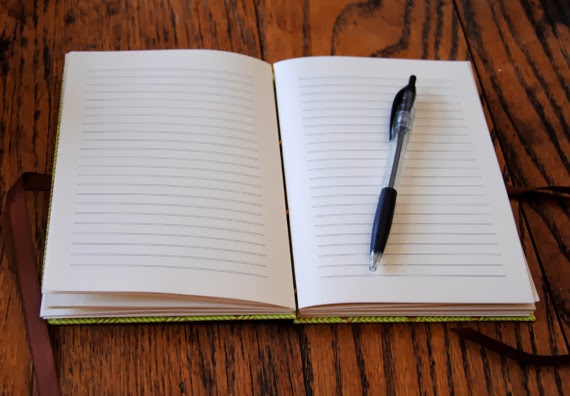
Over the course of the year I get several requests for lined journals instead of my normal blank journals.  This year I decided it was time to put on my thinking cap, get in the studio, and develop a line (no pun intended) of lined journals.  It took a few weeks of planning, but I'm very excited to share my new product for 2014: lined journals and notebooks!

https://www.etsy.com/listing/181446250/lined-journal-5x7-in-green-basket?ref=shop_home_active_5
The 5x7 inch journals have hard front and back covers with decorative papers and ribbon closures, just like many of my unlined journals.  The paper is a lovely text-weight paper called Mohawk Superfine and each page has dark gray printed lines on both sides of the paper.

https://www.etsy.com/listing/181446250/lined-journal-5x7-in-green-basket?ref=shop_home_active_5
The binding is a coptic stitch sewn with colorful waxed linen thread.  Each book has 120 pages front and back, and is a great size for journaling!  Right now the journals are being sold exclusively on Etsy, but keep an eye out for them this summer at craft shows.

https://www.etsy.com/listing/181590310/lined-notebook-5x7-in-tan-and-aqua?ref=listing-shop-header-1
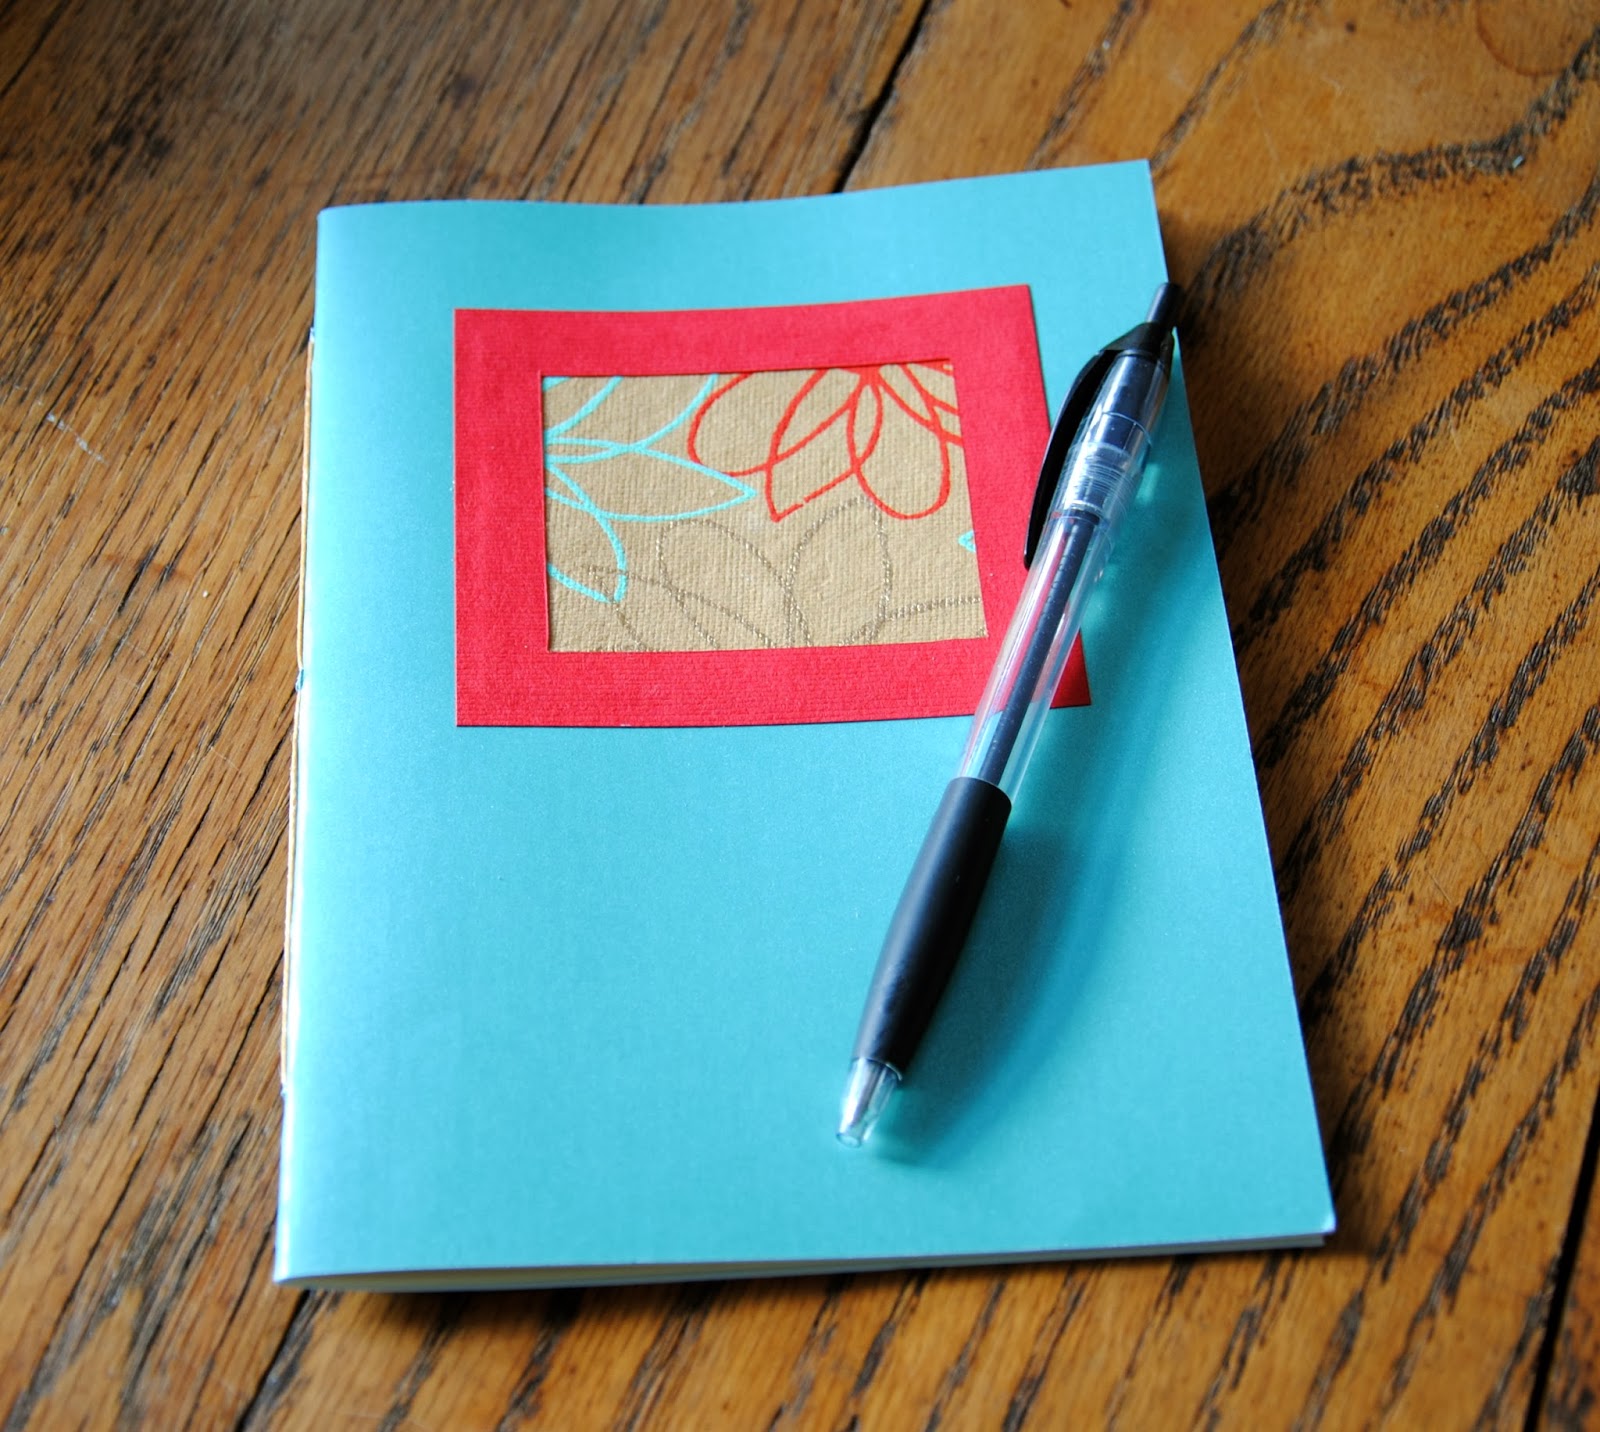
The lined notebooks are also 5x7 inches, but have a soft cover and only one section of pages.  This is a design completely new to Minimeg!  Each notebook has a section of decorative paper framed on a colorful background.

https://www.etsy.com/listing/181590310/lined-notebook-5x7-in-tan-and-aqua?ref=listing-shop-header-1
The single section of pages is sewn to the cover using a simple pamphlet stitch.  With only 20 pages front and back, the lined notebook is a great size to stash in a day bag for taking notes or using as a travel log on a short trip.  The notebooks are also exclusive to Etsy for now.

https://www.etsy.com/listing/181601051/lined-notebook-5x7-in-red-and-aqua?ref=listing-shop-header-0
Right now this Aqua and Red notebook is my favorite of the lined books!  Which one is your favorite?  Stop by my Facebook page to see photos of all my new lined journals and notebooks.