Thursday, November 20, 2014

Fiber Rituals - Art Book 5/14

I finished this book in late September for an Art Books Cleveland exhibition.  The exhibition just ended, and I was finally able to take photos of the book.  The theme of the exhibition was rituals.  I thought about it for months, came up with several ideas, but never actually started anything... I kept getting distracted by spinning wool and dyeing yarn.  That is when I realized that my book should be about the rituals involved with fiber- the things I had become obsessed about this summer!

I came up with seven different rituals associated with wool, and illustrated each one of them.  Scouring, mordanting, dyeing, carding, spinning, plying, and knitting.  The whole book is only about 4 inches tall.

To make the cover, I dyed strips of kozo paper with leftover plant dyes.  Then I spun the paper into thread using a drop spindle, and knit it into a rectangle.  It was my first time spinning paper and using it for a book.  It is a little tricky to get a nice thread without breaking or tearing the paper.  Compared to spinning wool, it is almost easier because you don't need to worry about drafting the fibers, you just need to give the paper twist.

I know I am way behind on my 14 Art Books for 2014.  It has been an interesting year to say the least, with several big changes in my life.  I have two unfinished art books sitting in my studio, and the ideas/materials for at least three more...  Time to get back in my studio and do this!

Tuesday, October 21, 2014

Dyeing Yarn with Queen Anne's Lace

Another one of my natural dye experiments this summer was with Queen Anne's Lace.  In the summertime Queen Anne's Lace is a wildflower that flourishes in empty lots, along highways, and any other green space that does not get mowed.  These flowers remind me of spending summer "up north" at my grandparent's cottage as a kid.  They grew everywhere and where my favorite flowers to pick.  Now that I am making natural dyes, I knew I had to use Queen Anne's Lace somehow.
 
I started by going down to the railroad tracks one August day and cutting giant handfuls of Queen Anne's Lace like I was making a bouquet.  I needed at least 4 oz. of flowers to dye one skein of yarn.  Then I went through the cooking process, strained off the flowers, and dyed 3.5 oz. of wool mordanted in alum.  (You can read more about the dyeing process on my these previous posts.)
 

So far this has been my favorite dye as far as aroma.  Since Queen Anne's Lace is in the carrot family, it has a kind of spicy carrot scent while cooking.  The final product ended up being a light, bright yellow.  Stay tuned for more posts about ecodyeing!  I've dyed about 30 skeins of yarn this summer and fall, and now that the weather is cooler I'm catching up on my blogging.
 

Tuesday, October 14, 2014

Kozo Book- Art Book 4/14

At the beginning of the year I set a challenge for myself to make 14 Art Books in 2014.  I got a little sidetracked by my job and other projects, but I am still plugging away at the 14.  I finished three art books for events and exhibitions in the month of October.  Here is the first of the books I made for October.

 
Art Book 4/14 is called the Kozo Book.  I made it for the Morgan Conservatory's annual benefit and silent auction.  The organization gives sheets of handmade paper to artists, and asks them to make a piece out of the paper to donate for the benefit.  This year the papers were handmade kozo paper with chiri, and a kozo/gampi blend.

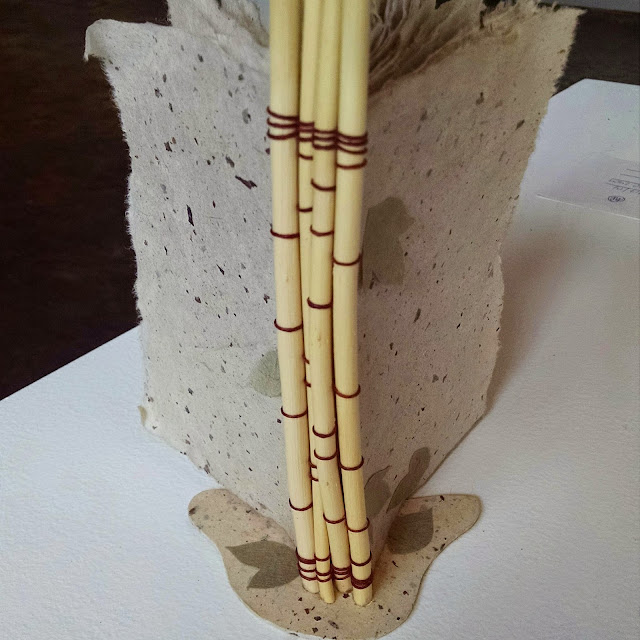
I decided to continue my theme of books with stick bindings, and used kozo branches for the binding.  The pages ended up being too flexible for the book to stand up on its own, so I created a stand for it out of book board.  Finally, I added kozo leaves cut from some of my naturally dyed papers.
 

Friday, September 12, 2014

Dyeing Yarn with Blueberries

Another one of my natural dye experiments was dyeing yarn with blueberries.  I started with a skein of 100% wool yarn and pre-mordanted the fiber in Alum.  Mordant helps the yarn to accept color better, and Alum tends to provide the brightest and clearest colors, compared to using copper or iron as mordants.

I made the dye bath using a 1:1 ratio of berries to fiber.  In this case, the blueberries had been left behind in the fridge at work and had started to get wrinkly and soft.  Instead of throwing them in the compost, I took them home for dyeing.  To get the maximum amount of color from the berries, I added a small amount of water to the pot and crushed the berries with a potato masher.  (I did this without the water at first and ended up squirting berry juice everywhere...)
 
After keeping just below a simmer for an hour, I strained out the berry pieces and added the wet fiber.  The dye bath looked like a gorgeous pink/purple, and I was really hoping that would transfer to the fibers.  When the fiber was rinsed and dryed, it ended up looking more like a blue-ish lavender.  It is still a lovely color, but definitely shows how unpredictable natural dyeing can be.
 

Wednesday, September 3, 2014

Dyeing Yarn with Zinnias


As I mentioned in a previous post, my interest in natural dyeing has been renewed.  I have kind of gone crazy with dyeing yarn (which you will see in my next five... or ten... blog posts) starting with zinnia flowers from the garden.

I started out by weighing the flowers and getting a 2:1 ratio of flowers to fiber.  My skeins are 3.5 oz, and I also dyed a small amount of wool for spinning, so I used about 8 oz of zinnias.  Then  I simmered the flowers in my dye pot for about an hour to extract the color, and strained out the flower pieces so it doesn't tangle with the yarn.

The yarn is 100% wool, pre-mordanted in alum so it will accept the color better and be more light-fast.  Before adding the wool to the dye bath, I soaked it in water so it will dye more evenly.  After an hour or so in the hot dye bath, I removed the yarn, let it cool, and rinsed out the remaining dye.  The zinnia dye turned out to be a gorgeous buttery yellow, much more subdued than the turmeric.

Thursday, August 28, 2014

Processing Raw Wool

Most of my friends and blog readers know that I am an avid crafter and artist.  (If you haven't figured that out by now, you really haven't been paying attention...)  I have been crocheting and knitting for many years, and last year my friend Mary taught me how to spin yarn.  Spinning is something that got put on the back burner with all the other things going on in my life, but recently I've had a renewed interest in spinning and natural dyeing.
Part of what fueled my renewed excitement for spinning is this large trash bag full of raw wool!  I made friends with a woman named Diane that had come to Cleveland to take workshops at the Morgan Conservatory where I work.  She has a flock of sheep and three herding dogs.  (I have not seen any of her sheep but I met her dogs, they are adorable and very well behaved.)  On her second visit to Cleveland, she brought me a bag of raw wool from her Leicester sheep, half white wool and half black.  Now that I have the raw materials there is no excuse not to spin!

Before I could start spinning, I had to learn about processing raw wool.  Raw wool has a combination of dirt, grass, and lanolin embedded in the fibers.  Lanolin is a waxy substance secreted by sheep to help protect their skin.  Lanolin helps make the wool waterproof, but it also feels oily and is more difficult to work with than clean wool.  To clean the wool I filled a bucket with very hot water, added several squirts of dawn dish soap, and let a bunch of wool sink into the water.  It is necessary to use very hot water so the lanolin can melt out of the wool and get absorbed by the dish soap.  Once the wool is in the water, don't touch it.  Heat and agitation together will felt the wool into a blob.  After 15-20 minutes, remove the wool from the bucket, pour out the dirty water, and start again.  I soaked the wool 2-3 times in hot soapy water and 2-3 times in clean hot water to remove the soap.

Once the wool is clean, use a towel to gently squeeze out excess water.  Don't wring out the wool or it will turn into a blob.  I spread my clean wool out on a folding drying rack with a mesh top so air can get above and below, and help it dry faster.  If that is not available, a towel on the floor will work fine.  After the wool is dry, there are still a few pieces of grass and dirt tangled in the fibers, and a little bit of lanolin holding the ends of each lock together.  To help clean and detangle the fiber I purchased a set of hand carders.  The hand carders basically brush the wool and loosen the fibers so the remaining dirt particles can fall out.  After carding, I remove the wool and roll it into a cylindrical thing called a rolag.  These rolags can be used to draft the fibers for spinning.

So there you go!  That is how I got from a bag of raw wool to being ready to spin.  I have cleaned 3-4 buckets of white fiber, 2 of black fiber, and I have only made a dent in the amount of fiber left to clean.  Needless to say, this will keep me spinning through the whole fall and winter.  I have enjoyed using the clean wool in my natural dye experiments.  Pretty soon I will have my own hand dyed and hand spun yarn.

Monday, August 25, 2014

Dyeing Yarn with Turmeric

So I actually dyed this yarn almost a year ago.  I had been putting off taking photos of the yarn and finishing the blog post... But now that I am getting back into natural dyeing and will be posting more of my experiments with natural dyes, I figured it was time to actually post this.

I participated in a local CSA program (community supported agriculture) which gives members a bag of fresh vegetables every week.  One week the bag included fresh Turmeric grown in the hoop house.  The turmeric root is bright yellow and usually used in curry and other similar dishes.  I already had a container of good ground turmeric in my spice rack, so I decided to use the fresh stuff to dye yarn.


I started by cleaning the roots and chopping them into small pieces.  The more surface area that is exposed, the easier it is to extract all the color available into the dye bath.  I added the chopped pieces to a pot of water and simmered for an hour or so to extract the dye.  (Note: I have a special pot set aside for dyeing, that is not used for food.)  I noticed that the dye wasn't very strong, so I supplemented the chopped roots with a teaspoon of ground turmeric from the pantry.

Luckily turmeric does not require a separate mordant to dye effectively.  Mordants prepare the fiber for dyeing so it can accept color from the dye bath.  Certain natural dye stuffs have a natural mordanting agent, so the fiber does not need any pre-treatment.  I took my ball of Paton's Classic Wool and wound it into a large loop so it could move freely in the dye bath.  After securing the loop, I soaked it in cool water in the sink to remove any bubbles or air pockets from the fiber (this helps the yarn dye more evenly.)


I turned the stove down and added my fiber to the dye pot so it could simmer for an hour or more.  I also added some wool roving to the dye pot, so I could use it for spinning later.  As an experiment I dipped one section of roving into an acidic solution (vinegar) after the dyeing process, and one section in an alkaline solution (baking soda and water.)  Treating dyes fibers in different pH solutions will change the color.  One section of roving turned brighter yellow and the other turned a little redder, and shifted towards orange.

Apparently I fail at documenting my process in photos... Because this is all I've got.  Don't worry, I've done a lot more dyeing since then and I (sort of) got better about taking photos.  Stay tuned for more posts about natural dyeing!

Saturday, June 21, 2014

Workshop: Secret Belgian Binding with Rhonda Miller

In the end of May I took a bookbinding workshop with Rhonda Miller of My Handbound Books from Nova Scotia.  She taught a class called The Secret Belgian Binding at the Morgan Conservatory in Cleveland.  The class was very interesting, and it was fun learning a new book structure.

I learned that the "secret Belgian" binding is Belgian, but not actually a secret.  The creator of the structure prefers to call it the Criss-Cross Binding... But in America, the other name stuck.  The book uses three pieces of book board and is sewn in two parts.

We started the class by folding signatures, and sewing together the textblock.  Then we covered the boards with decorative paper.  While the boards were drying, we sewed a practice card for the second part of the binding.

I am so glad we practiced the second sewing before attaching the textblock!  It was pretty tricky to keep all the parts of the book in the right place during the sewing process.  The "criss-cross" part comes from sewing back and forth over the spine piece at each set of holes along the spine.  I really enjoyed the class and I'm definitely going to make more books like this in the future!

Sunday, May 25, 2014

Springtime Folded Book- Art Book 3/14


https://www.flickr.com/photos/25370403@N08/14287999823/in/photostream/
This month I have been experimenting with folded book structures beyond the basic accordion fold.  One of the new techniques I tried is called the Turkish Map Fold.  It is a fold that can be done from both square and rectangular pieces of paper, and opens up to reveal the entire piece of paper.

https://www.flickr.com/photos/25370403@N08/14264503321/in/photostream/
I made this Springtime Folded book from two square pieces of paper.  I started by decorating the flat pieces of paper with image transfer, colored pencil, and a quote about spring by Ruth Stout.  Once the decorations were done, I folded each piece into a Turkish Map fold.

https://www.flickr.com/photos/25370403@N08/14267417304/in/photostream/
Next, I cut one long piece of book board to fit beneath the two folded pieces, and two smaller pieces of book board for each side of the front cover.  Then I glued the boards to decorative papers, leaving space for the front covers to hinge open, and attached ribbon closures.  Finally, I glued down the top and bottom sections of each folded piece to the finished covers.

https://www.flickr.com/photos/25370403@N08/14267416334/in/photostream/
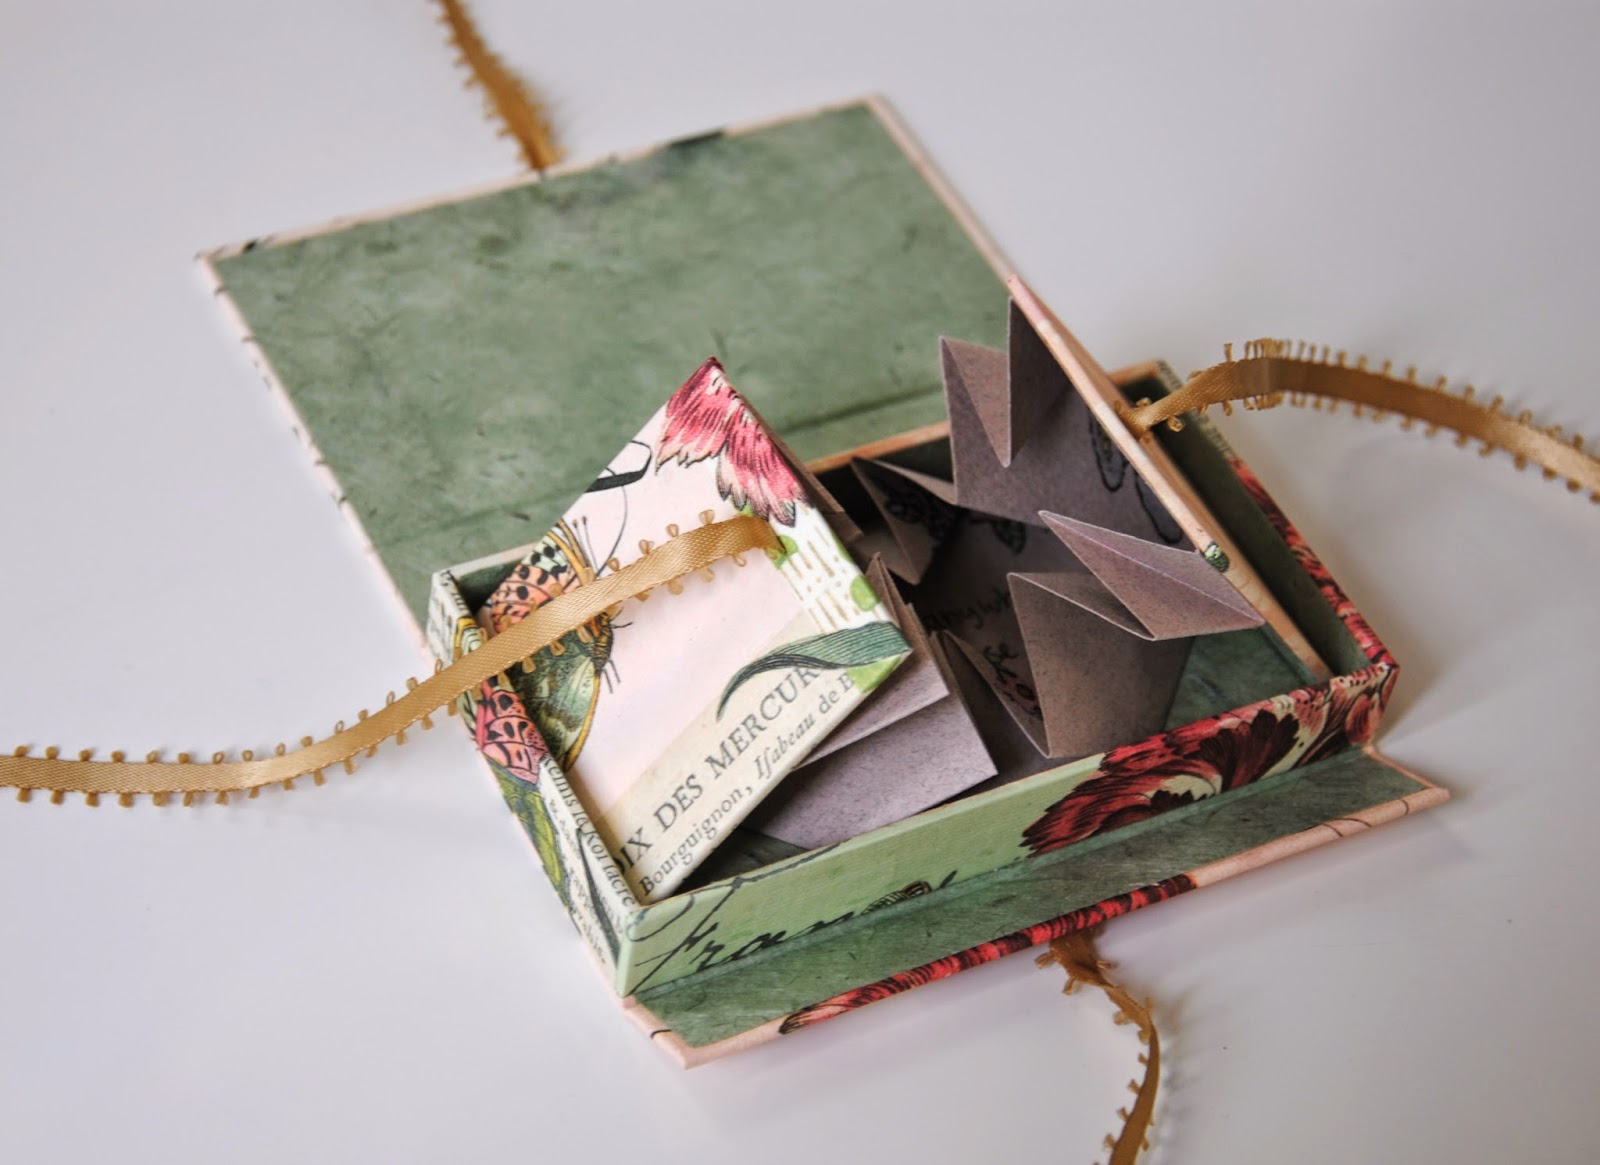
After finishing the book, I thought it would be nice to have a matching box to put it in.  I've been getting more into box making recently, so it was also a great opportunity to practice what I learned in the cartonage workshop I took last summer.

https://www.flickr.com/photos/25370403@N08/14267415324/in/photostream/
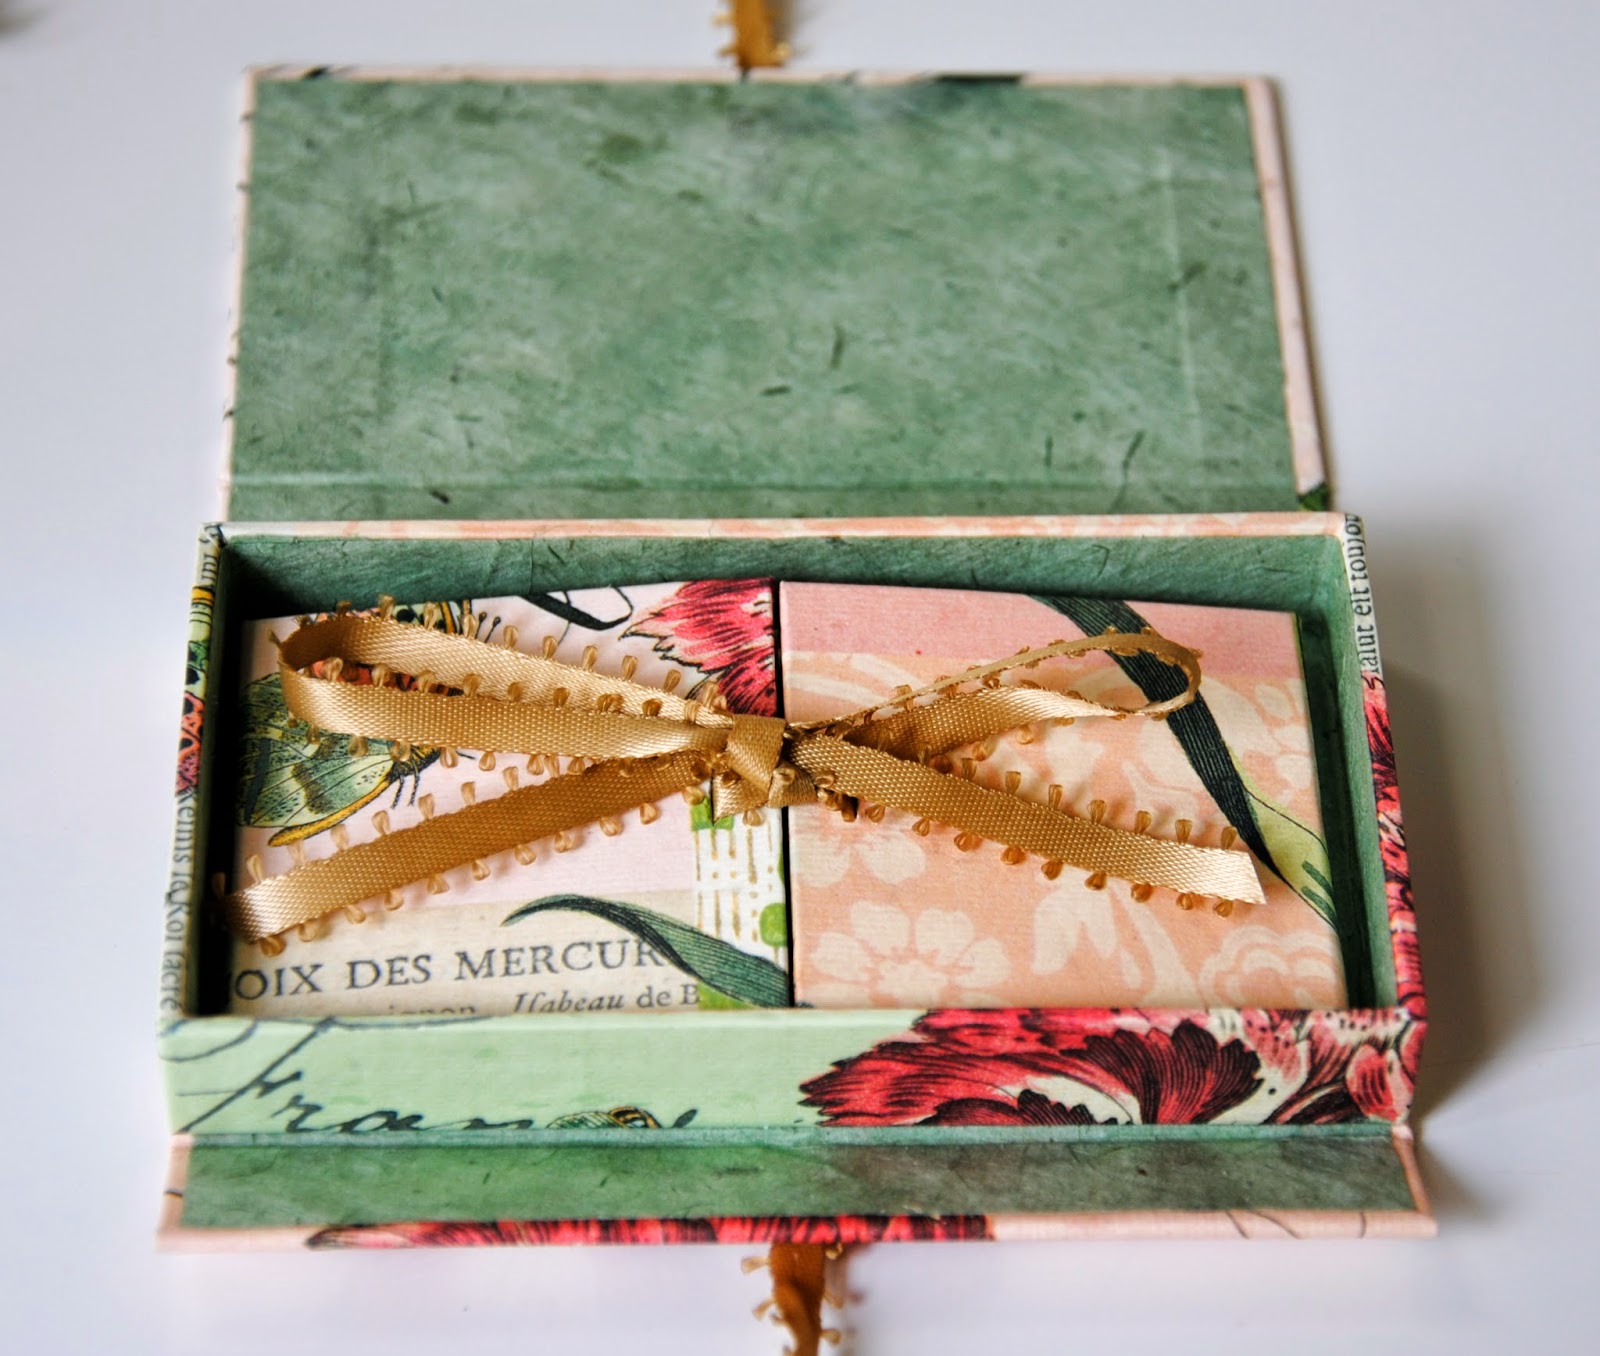
The box has a tray for the book and a hinged case that wraps around the tray and ties shut.  I made the entire box by hand using scraps of book board, patience, and a little bit of math.  This book and box are number 3 out of 14 Art Books in 2014.

https://www.flickr.com/photos/25370403@N08/14081166349/

Wednesday, May 7, 2014

Paradise Fibers Yarn Club: February


https://www.flickr.com/photos/25370403@N08/12960740494/in/photostream/
I've been done with this project for a while, but was waiting to get the January yarn club finished and posted first.  The Paradise Fibers Yarn Club for February was a skein of Mountain Colors Merino Ribbon in the colorway Harmony Aspen.  The colors in this one are absolutely gorgeous!  It is a really subtle blend of tan, blue, and green.  Also, remember how I said there was only one of the Mountain Colors novelty yarns I would consider using again?  This yarn was it, and it is much nicer to work with on its own (away from the weird fuzzy yarns.)

https://www.flickr.com/photos/25370403@N08/12960305925/in/photostream
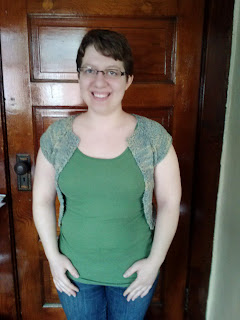
I decided to make a little shrug for spring and summer.  I found an easy pattern on Ravelry from the book One-Skein Wonders that was perfect.  It worked up fairly quickly and didn't have any seaming or grafting.  I added several rows beyond what was called for in the pattern (or else it would have been super short.)  This is the kind of pattern that can be extended until you run out of yarn.

https://www.flickr.com/photos/25370403@N08/13206124953/
Overall, I enjoyed working with the Merino Ribbon yarn.  The color was perfect and it made a nice light fabric.  I would probably buy this yarn again for a summer sweater, or other warm weather knitting.
https://www.flickr.com/photos/25370403@N08/13206293894/in/photostream/

Thursday, May 1, 2014

Paradise Fibers Yarn Club: January

https://www.flickr.com/photos/25370403@N08/12597215963/
I have been participating in the Paradise Fibers yarn club since last summer.  The yarn for January was Mountain Colors Twizzle in the color Evening Star.  It is a lovely worsted weight Merino wool with a strand of silk plied in.  The silk adds a lovely pop of color to the yarn.  Evening Star is a black and purple base with orange and blue accents.

https://www.flickr.com/photos/25370403@N08/12597205423/
Since black and purple are my cousin's favorite colors, I decided to make a triangular scarf for her as a birthday gift.  I used the Ashton Shawlette pattern that I made for myself in the fall.  Unfortunately I didn't check the yardage before I started, so I ran out of yarn less than a week before the project deadline!  So I ordered a second skein and finished it later.

https://www.flickr.com/photos/25370403@N08/14040896332/
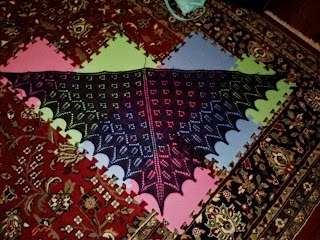
I had to keep setting this project aside for other things (like yarn club projects for February and March, and both of my big ice skating competitions this year...) but I finally finished the shawl over the weekend and got it blocked.  Now that this is done, I can post about the other yarn club projects I finished in the meantime!

Friday, April 18, 2014

The Solar System- Art Book 2/14


https://www.flickr.com/photos/25370403@N08/13925346055/
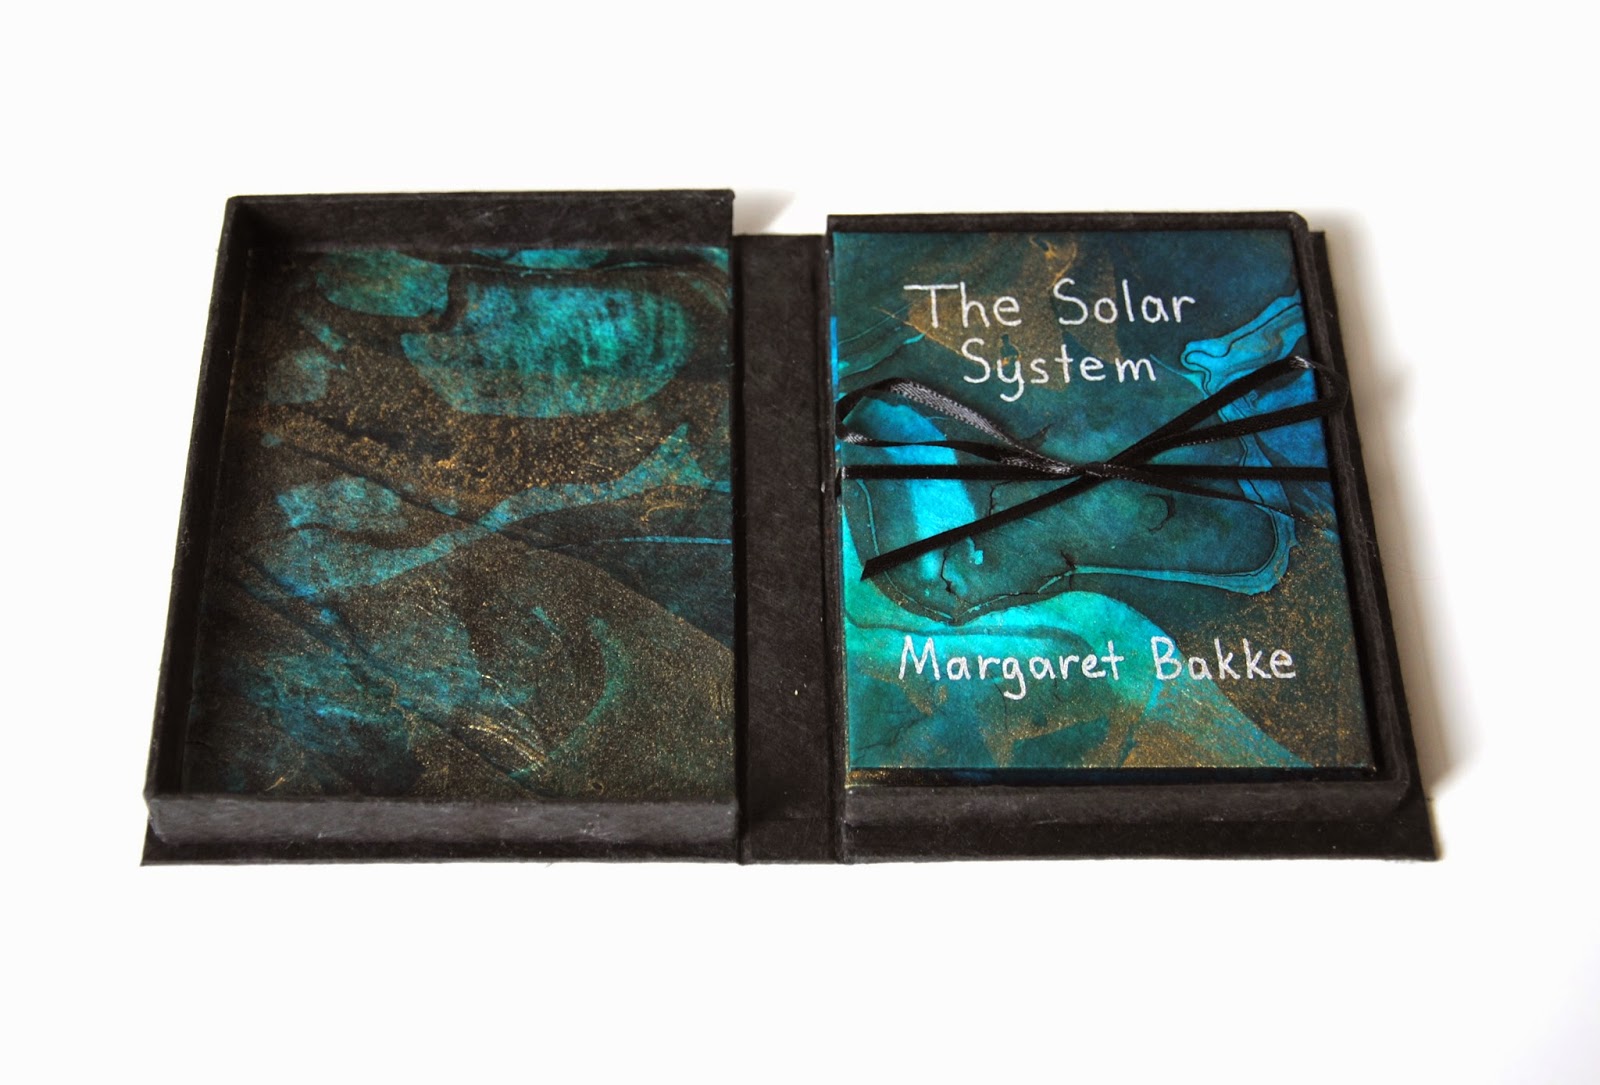
My latest art book is an accordion book of the Solar System with a matching clamshell box.  This is art book 2 of 14 for my 14 in 2014 Challenge.

https://www.flickr.com/photos/25370403@N08/13925818584/
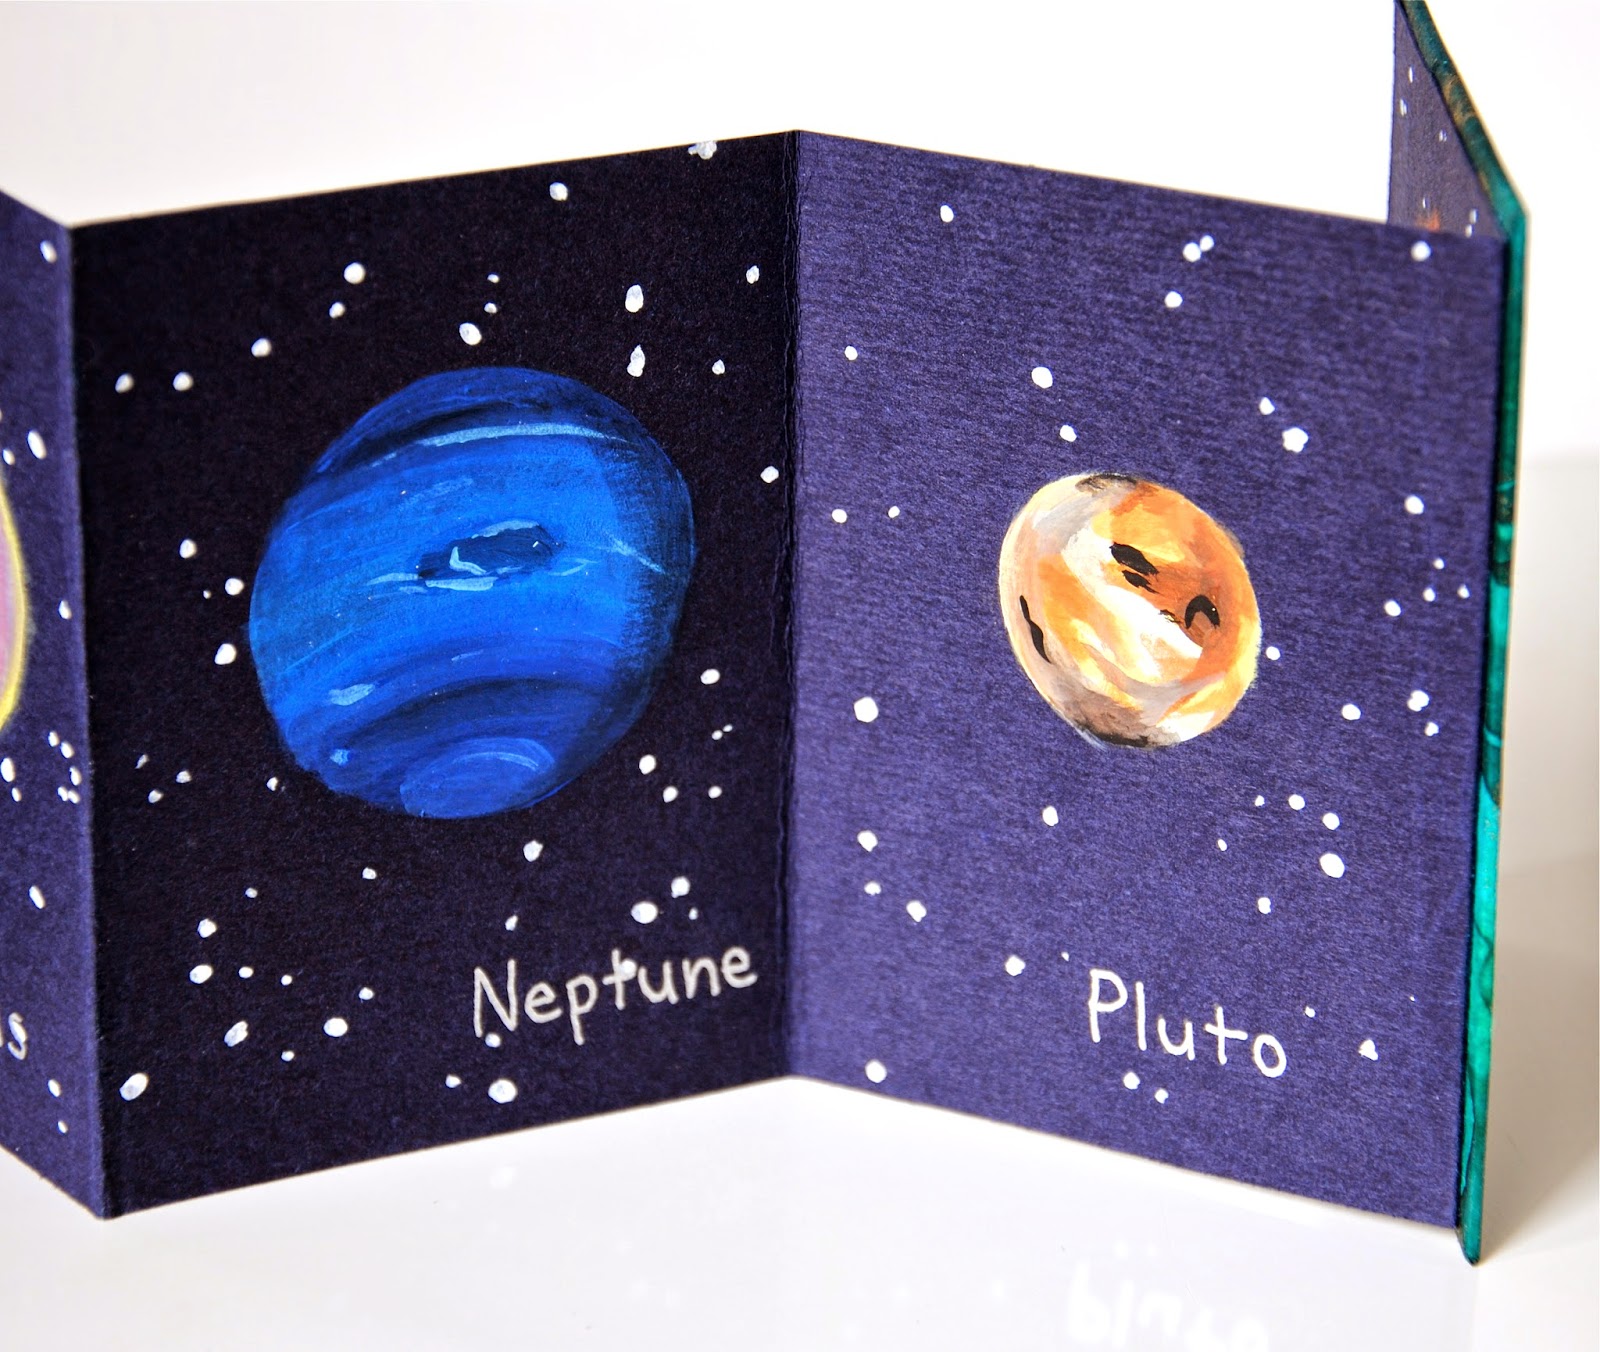
This book is a follow up to the Astronomer's Alphabet and the Aurora Borealis books I made back in 2012.  The accordion is a lovely navy blue cardstock with a different part of the solar system on each panel.  The book starts with the Sun, and ends with Pluto.  (I know Pluto isn't technically a planet anymore, but I still consider it to be part of our Solar System.)

https://www.flickr.com/photos/25370403@N08/13925815794/
I started by folding the accordion, and using pencil to draw the outline of each planet.  Then I painted each planet using several layers of acrylic paint.  I referenced photos from NASA to try and get an accurate representation of each planet.  Then I added dots of white paint for the stars.  Finally, I wrote the name of each planet at the bottom of the page.

https://www.flickr.com/photos/25370403@N08/13902242631/in/photostream/
This was my first time making a custom clamshell box for an art book.  I found a very useful tutorial about how to get the measurements correct, and combined that with my previous box making experience.

https://www.flickr.com/photos/25370403@N08/13925396423/in/photostream/
Since this book is the same size as the Aurora Borealis book, I made a box for each of them at the same time.  Both books are going to be part of an exhibition in April.

https://www.flickr.com/photos/25370403@N08/13925362355/in/photostream/

Saturday, March 22, 2014

Knit Colorwork Socks

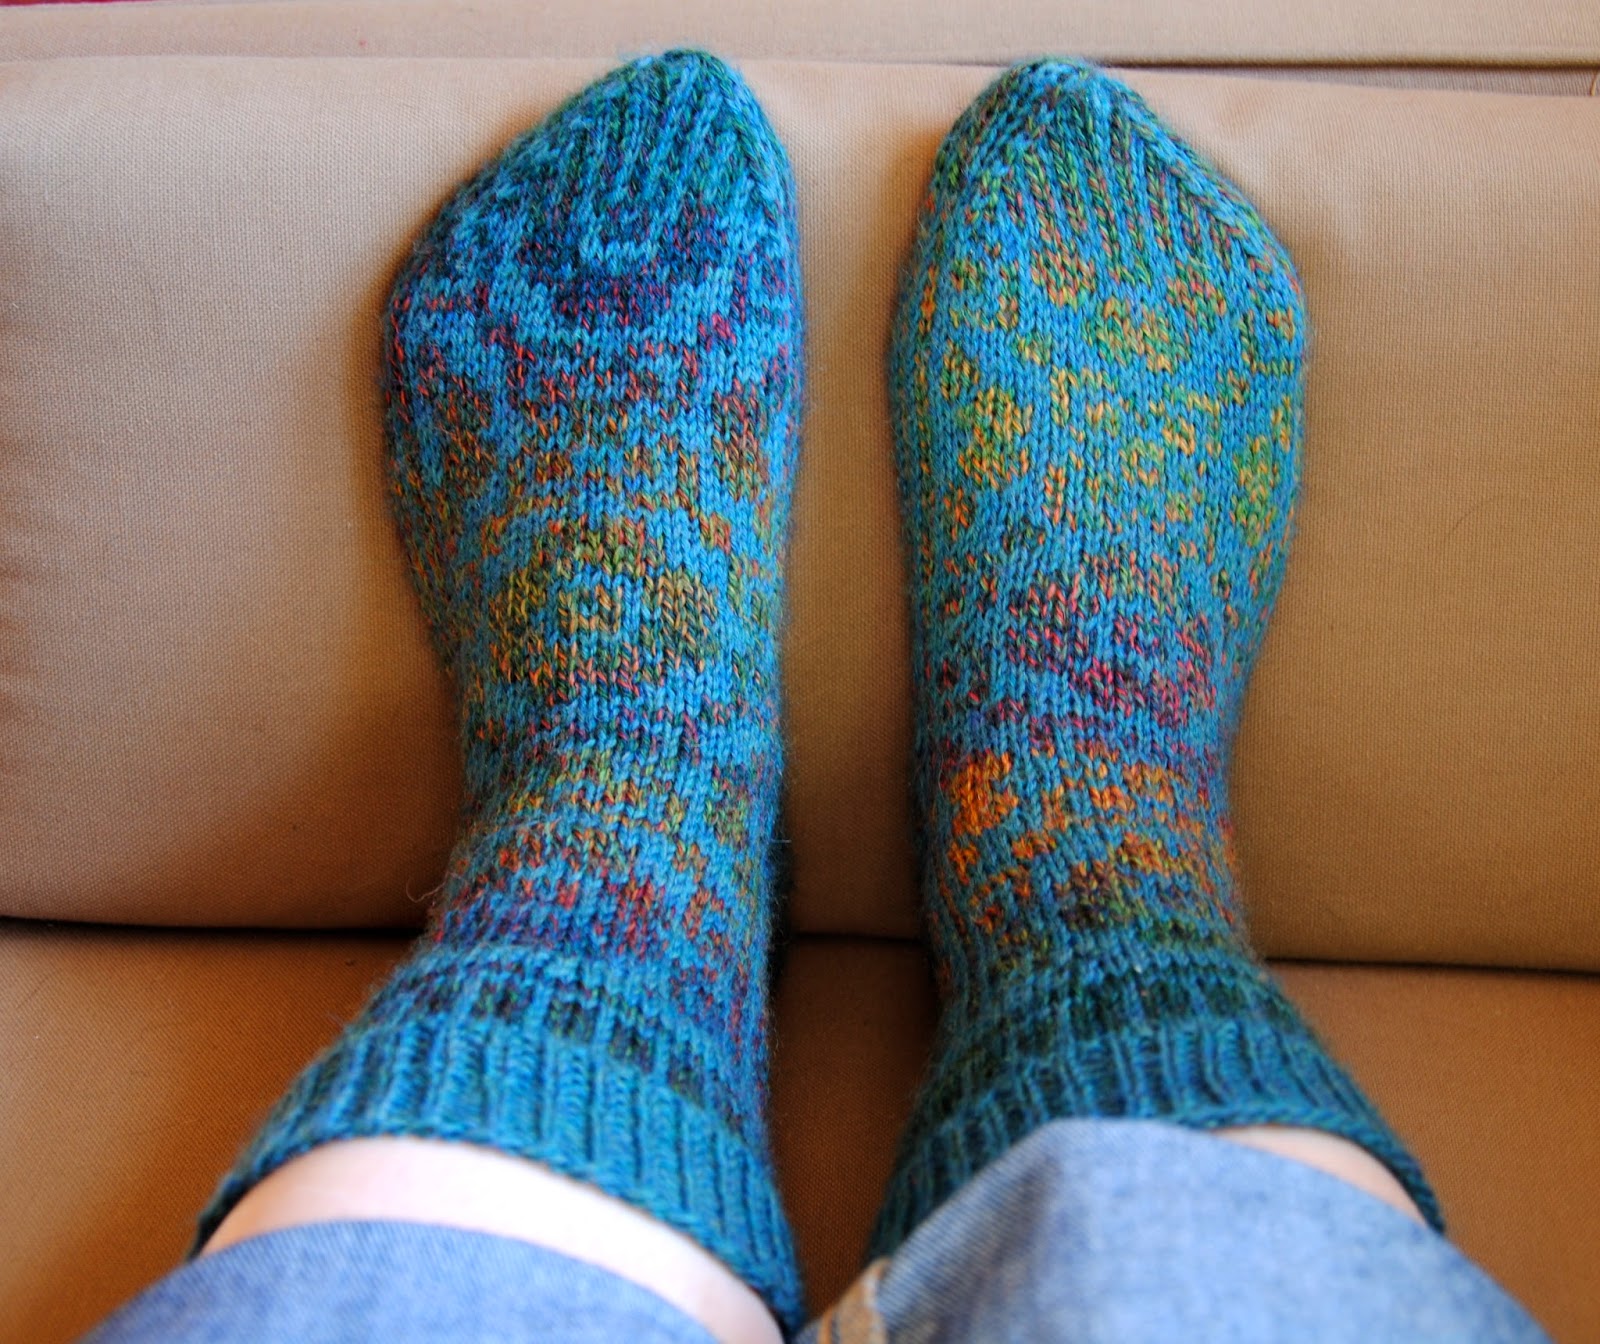
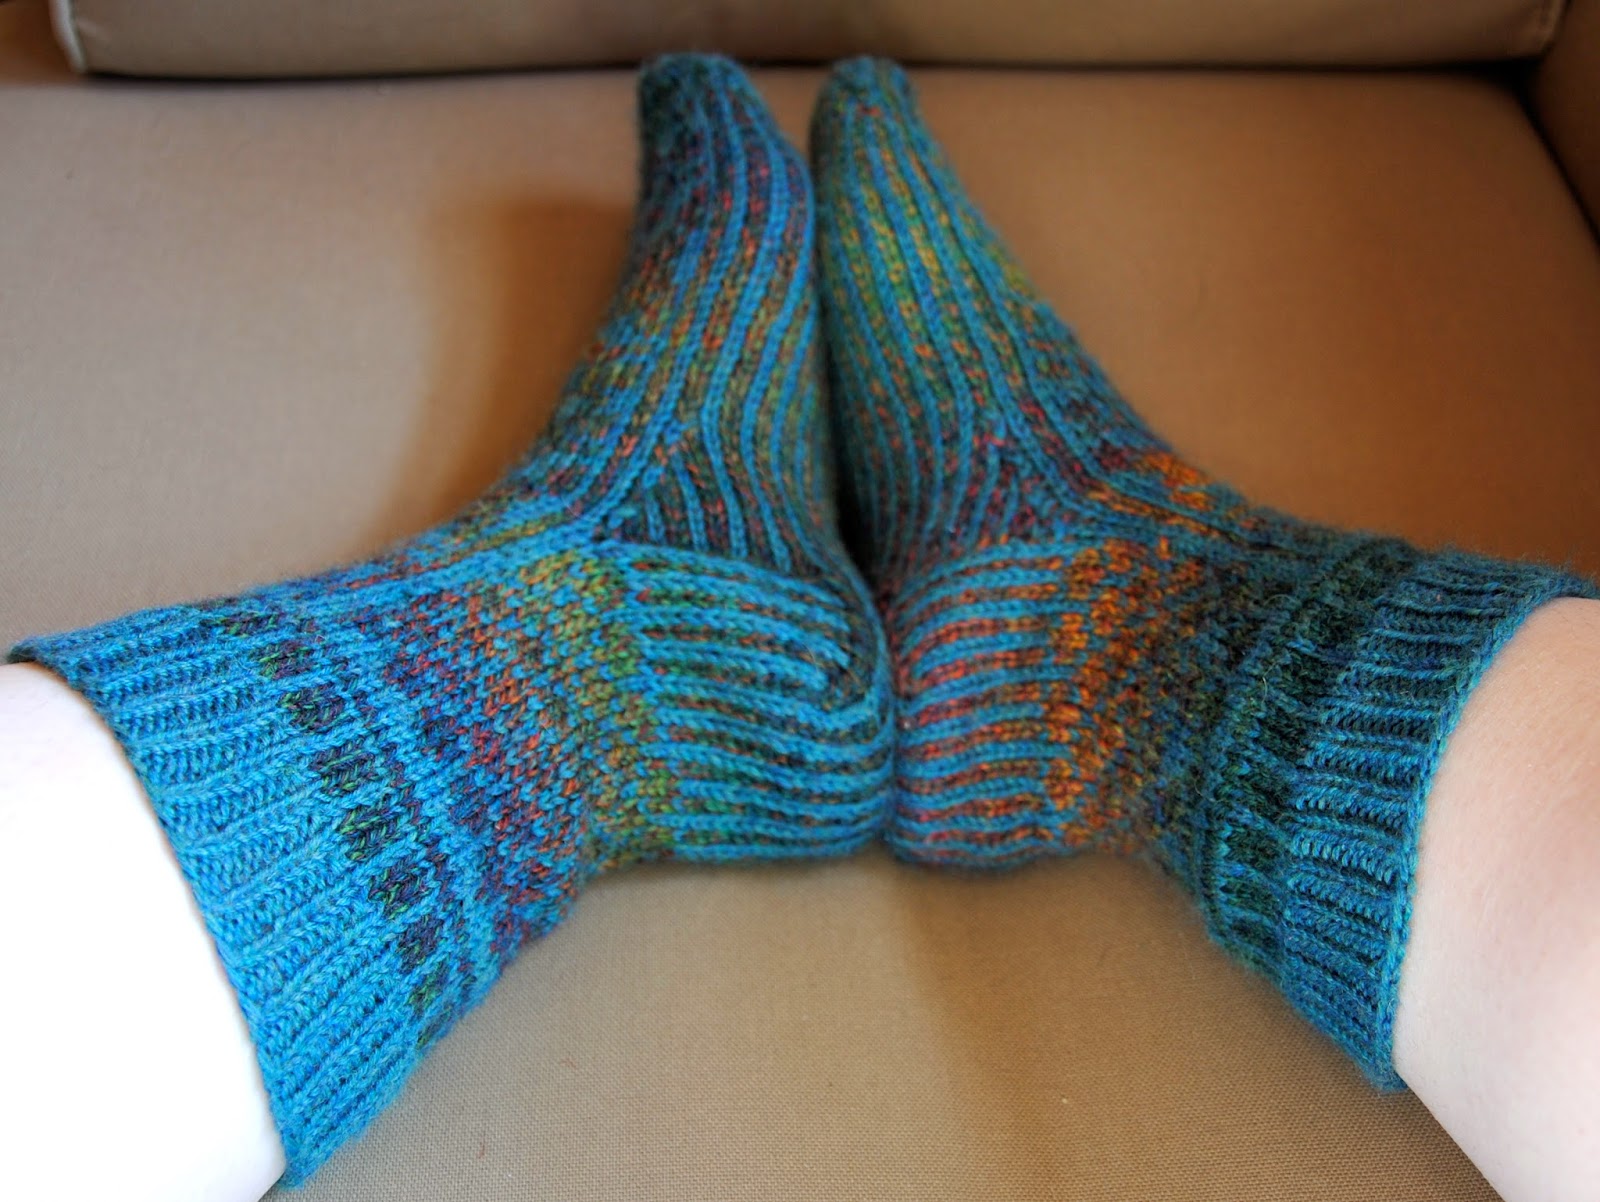
Earlier this month I finished knitting the colorwork project I started last year.  I know it seems like a really long time to spend on a pair of socks... But I finished the first sock and started the second one right before summer hit.  The whole project got set aside in my "works in progress" basket by the couch, and it just took me a while to get back to it.

https://www.flickr.com/photos/25370403@N08/13331717694/in/photostream/
The pattern is called Christmas Sock in Fabel by Drops Design.  I started the project on a whim to have something to work on during a Valentine's craft show, and also because I had new yarn I really, really wanted to use.  I combined a teal "main color" with a blue/orange/red "contrasting color" instead of the traditional red and white or other solid color combination.  I wanted to experiment using a self-striping yarn and a solid for colorwork, and I'm definitely pleased with the results.

https://www.flickr.com/photos/25370403@N08/13331712974/
The finished socks are warm and squishy, but still thin enough to fit inside a pair of boots or shoes.  But somehow, I managed to make the second sock slightly larger than the first...?  Oh well, that's what I get for waiting a year between socks.  On to my next project!

Tuesday, March 18, 2014

Making Skating Costumes

When I'm not knitting, binding books, or blogging I am usually out on the ice practicing ice dancing.  Last year I competed for the first time at the US Figure Skating Adult National Championships with my ice dancing partner.  This year we competed at the sectionals competition in Cleveland in early March, and are getting ready for Adult Nationals again in April.  I needed a new competition dress (or two) this year, but they are expensive and difficult to find locally.  So, I did like any good crafter and made the costumes myself!

Old wrap skirt I used as a pattern
For the competition I need one outfit for the choreographed free dance with my partner, and a second outfit for the pattern dances with my partner and my solo pattern dances.  I decided to use part of an old costume for the free dance and make a wrap skirt to go over it.  For the pattern dances I made another wrap skirt and bought a plain leotard to go with it.  I actually got enough fabric for two different wrap skirts to go with the plain leotard.

Cutting out the fabric
I bought fabric and flat back rhinestones from Carol's Fabric Shop in Brunswick, OH.  It is a tiny fabric store that carries tons of stretchy dance and skating fabrics, and is the only store in the Cleveland area with a decent selection of skating fabric.  I based my new skirts off an old wrap skirt I had from my old synchronized skating team practice uniform.  I needed the skirts to be "dance length" which means to the knee- so I had to add some length compared to the old skirt.

Once I had everything cut out, I went to my sewing machine and did a lettuce edge for the hem.  That is when the material has a wavy, curly edge instead of a normal hem.  It is a simple and attractive hem for stretchy fabric.  Basically all you do is stretch the fabric while sewing a dense zig-zag stitch.  Then I took a long strip of fabric and sewed it to the top for the waistband.  The waistband needed to have extra length so it could wrap around my waist and tie together on one side.

Finally, I took the leotard and glued on a line of rhinestones.  This was my first time stoning a dress, and I think it went rather well.  Only one minor glue spot on the fabric.  However, next time I would not put the stones over the elastic edge.  I accidentally killed most of the stretch on the neckline because of how many stones I added.  Before the next competition I plan to add another row of smaller stones below the bigger ones.  I am also planning on sewing the third skirt- a black fabric with a wavy, glittery pattern of blue and white dots.

The whole ordeal still ended up costing around $125, but I now have three different outfits I can use for skating competitions.  By comparison, one off-the-rack skating dress without stones could have easily run me $200 or more.  Hooray for being able to do-it-yourself!